

Availability: Professional, Expert and Enterprise · Role: edit access
An aliquot description gives BoundaryLogic Trace a shape and no position. ne,14,3n,5w draws a closed quarter on the nominal 5,280 foot section in the project’s local plot coordinates, and where that quarter stands on the ground is a second step, in a different panel. This guide runs both, in order, on the northeast quarter of Section 14, Township 3 North, Range 5 West. It ends with the boundary sitting on its section corner over the Public Land Survey System grid.
What you will need
- A project open in Trace, with edit access to it.
- The aliquot parts, the section, and the township and range as the record states them.
- Professional or above for the placement panel and the map grids. The aliquot form in the manual plotter works on every plan.
1. Put the description into the shorthand
Trace reads aliquot parts section outward, smallest first, comma separated. A quarter is ne, nw, se or sw, so the northeast quarter of Section 14, T3N, R5W is ne,14,3n,5w. One step finer, the southwest quarter of the northeast quarter is sw,ne,14,3n,5w.
Halves, dimensioned strips and the whole section have their own forms. PLSS calls in the editor lists all of them.
2. Write it as a tract
- In the manual plotting workspace, on the editor toolbar, click PLSS. The aliquot section form opens.
- Enter the section, township and range. The boxes carry the examples 14, 3N and 5W.
- Enter the parts, section outward and comma separated. The box defaults to
ne, which is what this description needs. - Read the preview. It shows exactly what will be inserted, with a caveat under it that step 3 of this guide unpacks.
- Click Insert. The button stays unavailable until the section, township and range all have content.
One line lands in the document. Trace expands it into a closed tract, and the line names its own tract from the reference, as Section 14 3n 5w, NE. Do not write a &( header above it: the line synthesizes its own, and a header written by hand leaves an empty tract behind. The tract card reports 160.0000 ac for a quarter section, and 40.0000 ac for a quarter of a quarter.
3. What the shorthand drew, and what it did not
The expansion is built on the nominal section, 5,280 feet on a side, in the project’s local plot coordinates. Where the tract sits on the ground stays with the project anchor, not with the aliquot line. That is what the caveat in the form says, and it has two consequences worth having straight before you go to the map.
The shape is nominal. A surveyed section is rarely 5,280 feet on a side, and a township’s excess or deficiency is carried in the lots along its north and west tiers rather than spread through the interior (Bureau of Land Management, Manual of Surveying Instructions, 2009). Where the record gives dimensions of its own, check Plot as metes and bounds in the form instead. The button then reads Insert calls, the same geometry lands as editable calls, and you can edit them to what the record says.
The position is not set. Nothing in the aliquot line puts the tract on its section corner. That is the next step, and it is a different panel.
4. Put it on its corner
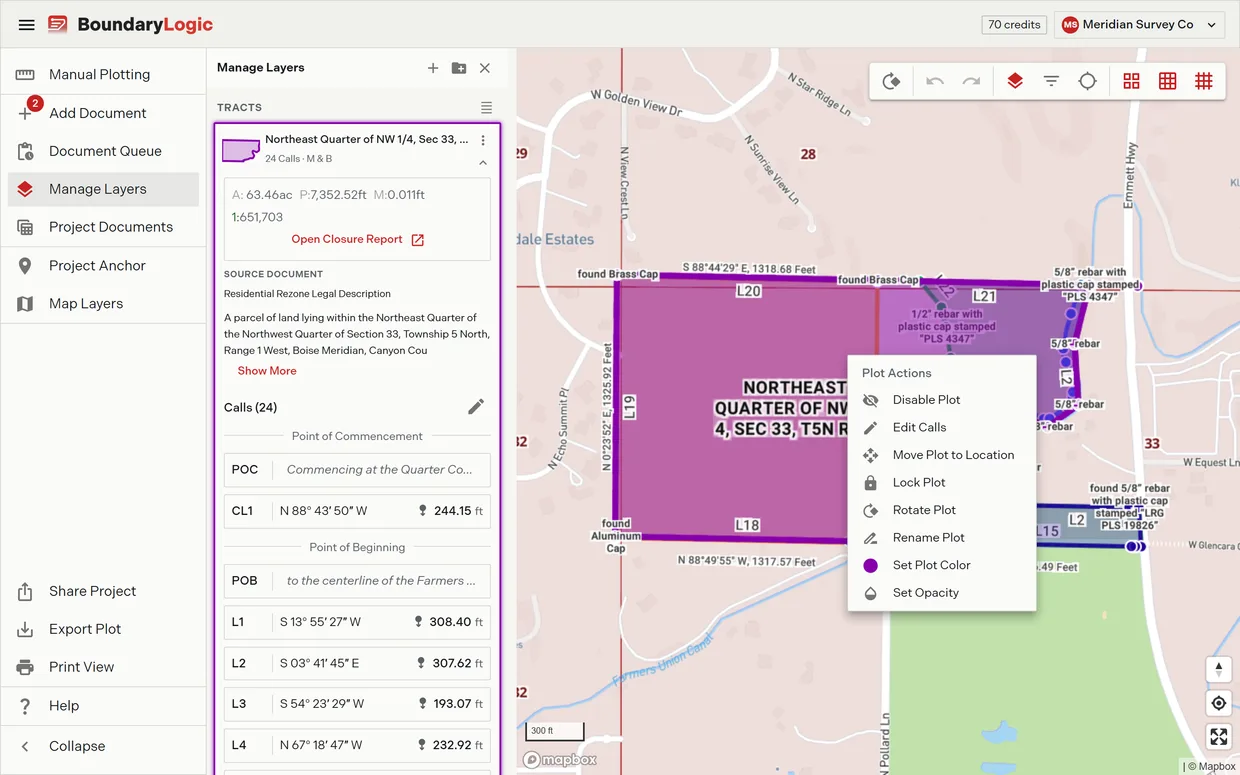
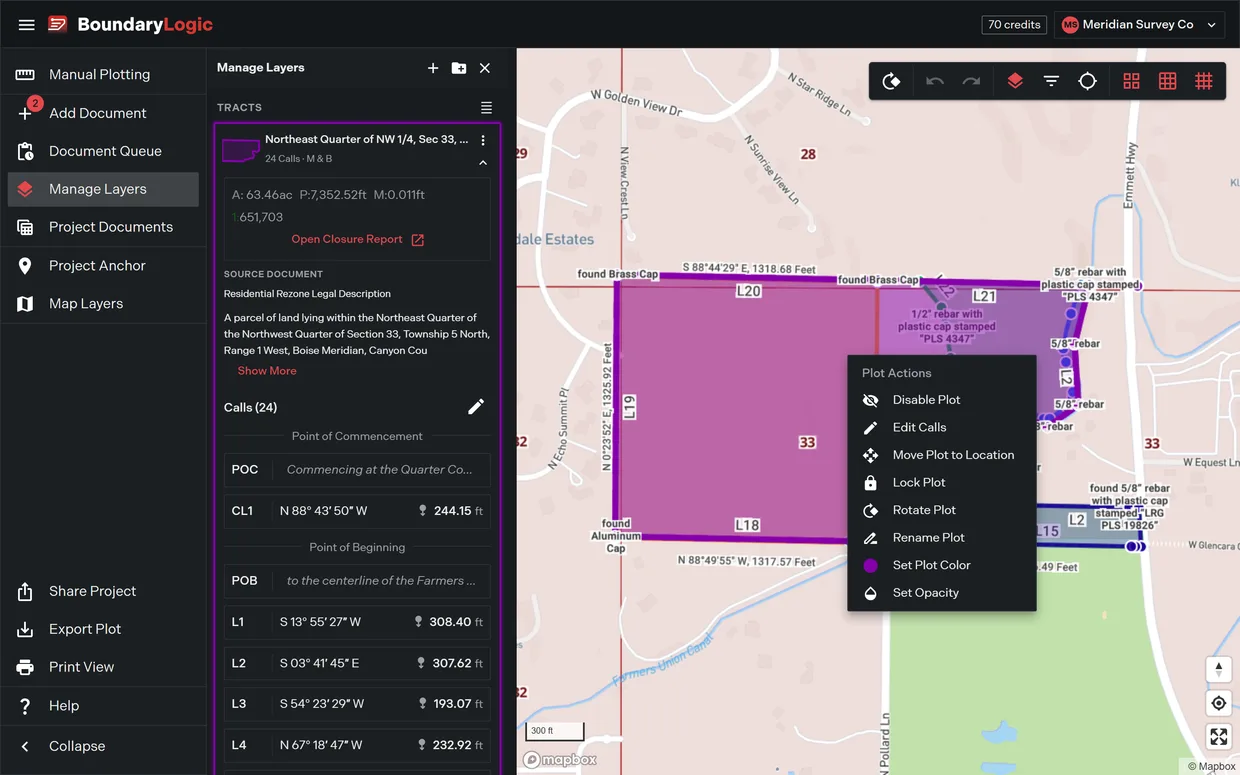
- On the map, click the plot. Its outline thickens and its layer card expands.
- Right-click the plot. The Plot Actions menu opens.
- Choose Move Plot to Location, or press M with the plot selected.
- Switch to the PLSS tab, which carries a Beta badge. The three PLSS map grids switch on behind the dialog, and the panel reads “Select a state to continue.”
- Choose the state whose grid you need.
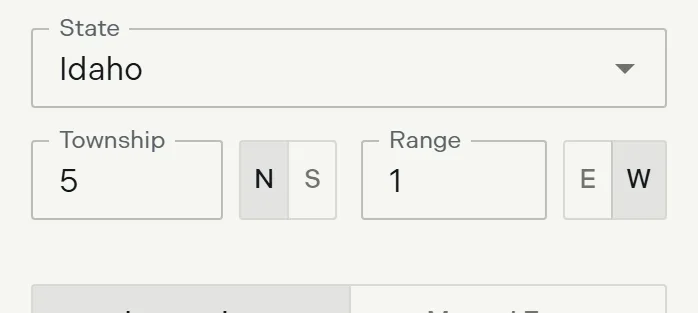
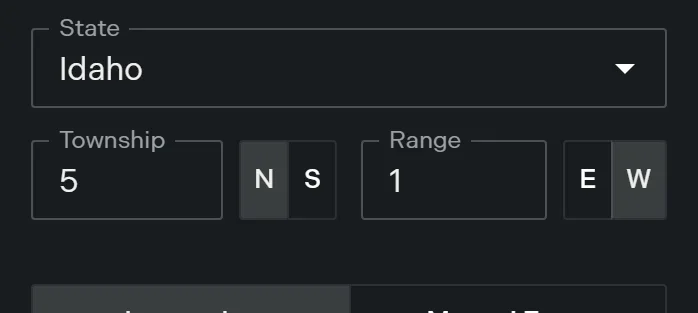
- Enter the township and range with their N or S and E or W toggles. The panel reads “Validating township…” while it checks, then draws the section grid. A township with no grid comes back invalid.
- Click 14 in the grid. The 36 sections are laid out in survey order, 6 through 1 across the top row, then 7 through 12, and so on down the township.
- Optional: click a quarter to refine the position, then a quarter quarter to refine it again. An irregular section blocks the drill.
- Choose a placement target: one of the 8 named corners, or Place at center.
- Click Move Plot. The plot re-anchors, the project drawing regenerates, and the map flies to the new position.
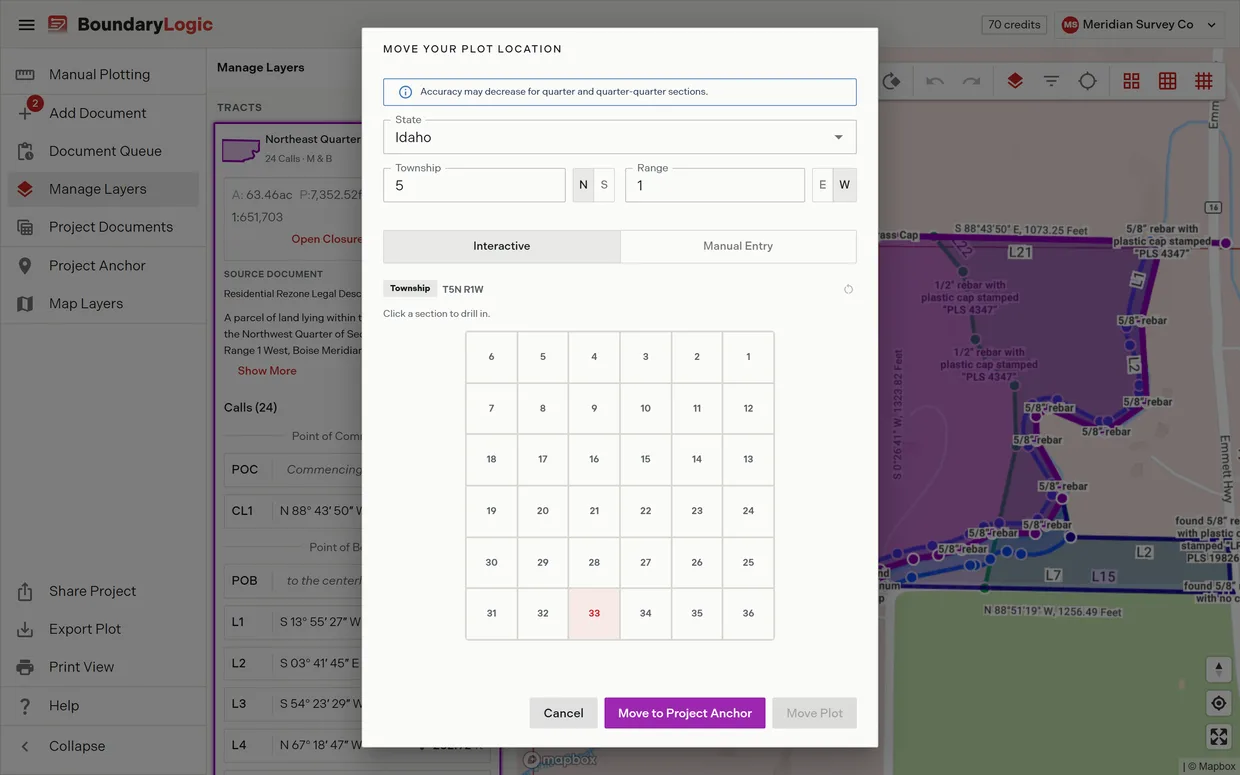
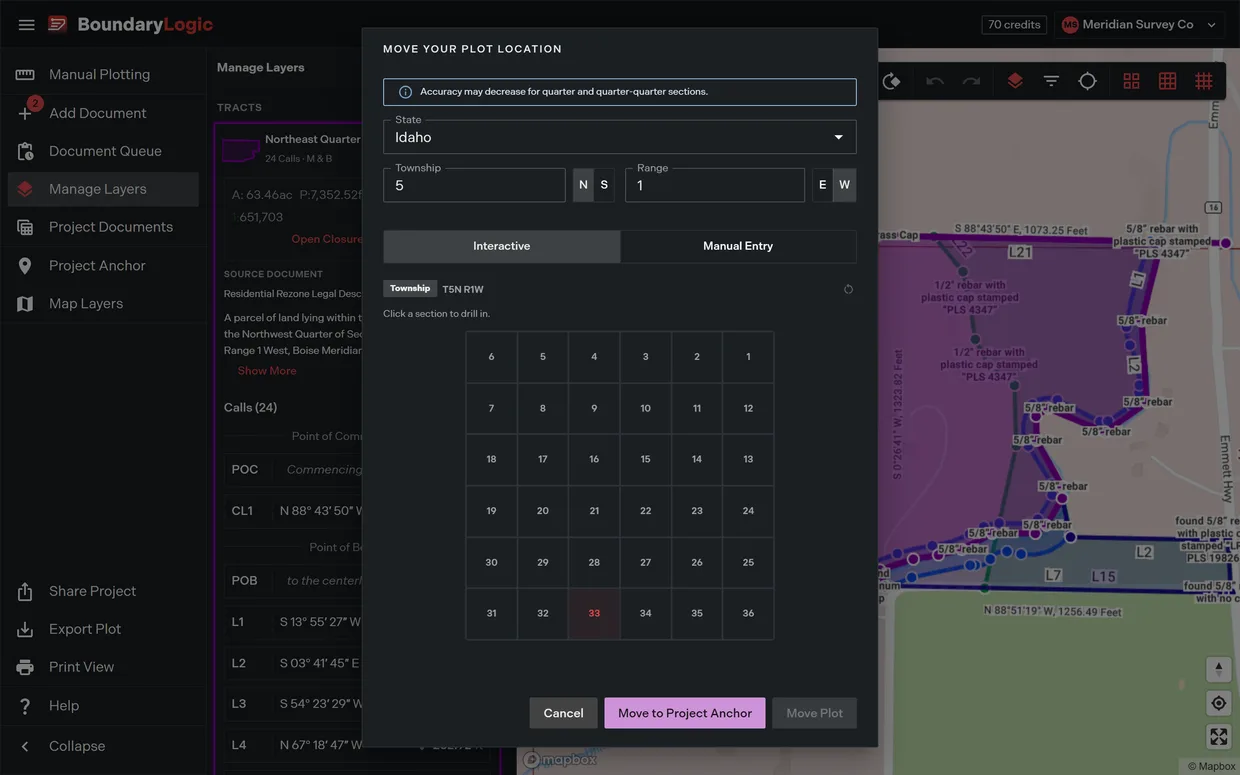
Two smaller things about this dialog. Move Plot stays unavailable until the panel has produced a latitude and longitude, so it lights up when you pick the target and not before. And where a plot carries a point of commencement call, the dialog asks first which reference point the move should use; an aliquot expansion carries only a point of beginning, so that question does not appear here.
5. Read the result
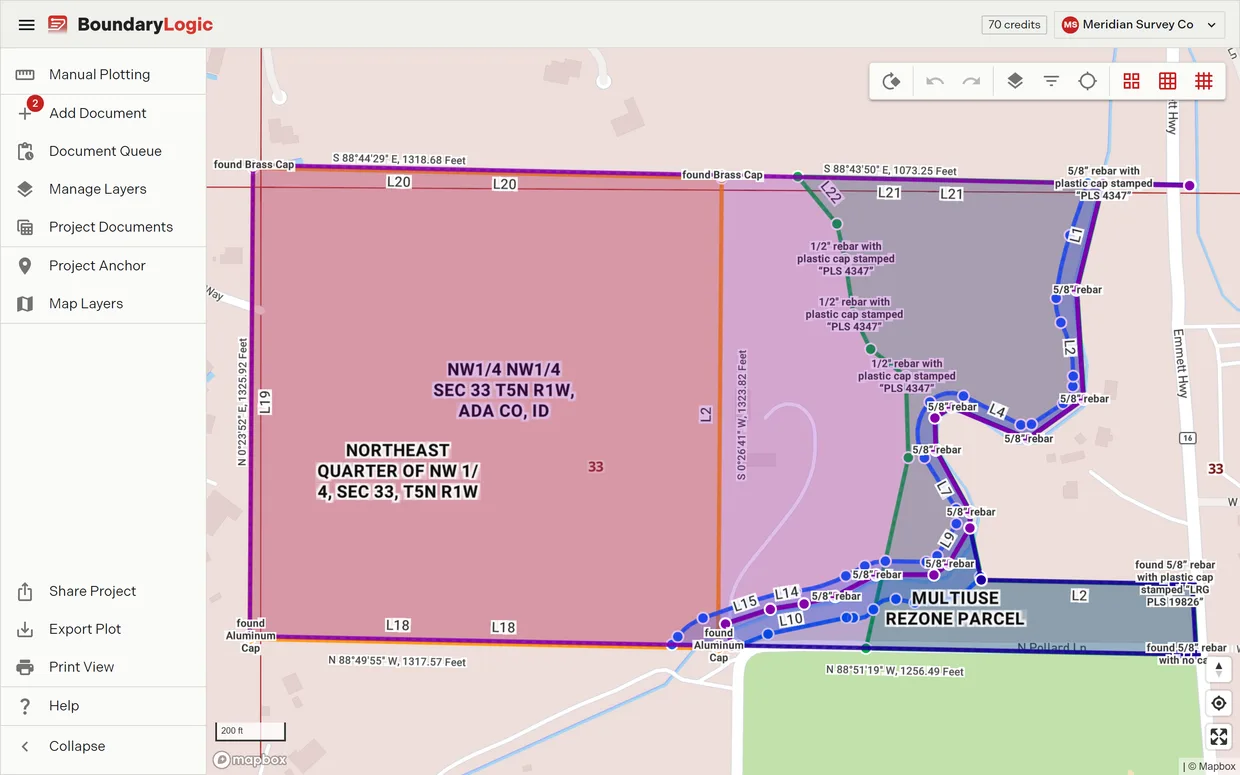
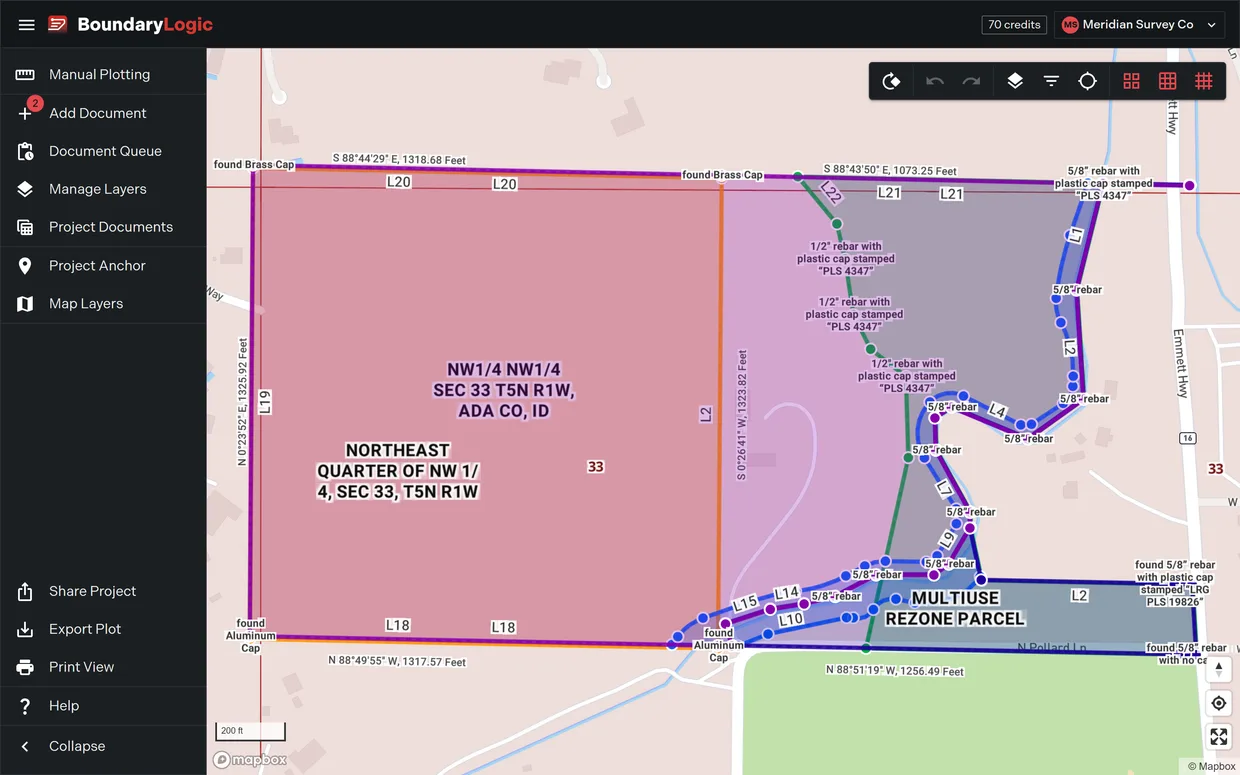
The tract now stands on the corner you chose, with the grids drawn behind it. Read two things before you rely on it.
The panel warns that “Accuracy may decrease for quarter and quarter-quarter sections.” A section corner is the strongest position it can give you, and the finer subdivisions are computed from it, so place at a section corner wherever the record lets you and drill in only when it does not. The corners come from the PLSS reference data loaded for the state you chose rather than from a survey of the ground, and a corner missing from that data is not offered as a target.
The tract card still reports the nominal figures. Moving a plot changes where the geometry sits, never the geometry itself, so 160.0000 ac after the move means the same nominal quarter it meant before. Trace shows the placement and the numbers; the reviewing professional decides whether the record and the surveyed section agree.
PLSS placement needs Professional or above. On Free the PLSS tab opens the plan chooser instead of switching, and the three grid toggles on the map toolbar stay frozen behind an upgrade tooltip. Writing the aliquot tract in the manual plotter, step 2 of this guide, works on every plan.
Where to go next
- PLSS calls in the editor, for the aliquot form and every shorthand form it writes, including plotting as metes and bounds
- PLSS placement, for the placement panel in full, including the states it offers and manual entry
- Move a plot, for the move dialog end to end, including the address and coordinate tabs
- PLSS grid overlays, for the township, section and quarter grids on the map
- Locate a legal description, for the project anchor, which is where new plots land before you move them
- Deed syntax reference, for every call the editor accepts
- Township and range and quarter section in the glossary