

Availability: Professional, Expert and Enterprise · Role: edit access
One panel drills the Public Land Survey System down to a corner: state, township and range, section, quarter, quarter quarter. Trace uses it in three places, and it behaves the same in all three.
Before you start
- PLSS placement needs Professional or above and carries a Beta badge.
- You need edit access to move a plot or save an anchor.
- The state picker offers 36 states. It excludes the 13 original colonies (CT, DE, GA, MD, MA, NH, NJ, NY, NC, PA, RI, SC, VA) and Hawaii, which carry no federal townships, ranges or sections to look up. If a tract you are placing sits in a state that is offered but in an area the federal system never reached, expect the township to come back invalid rather than to find a grid.
Drill to a corner
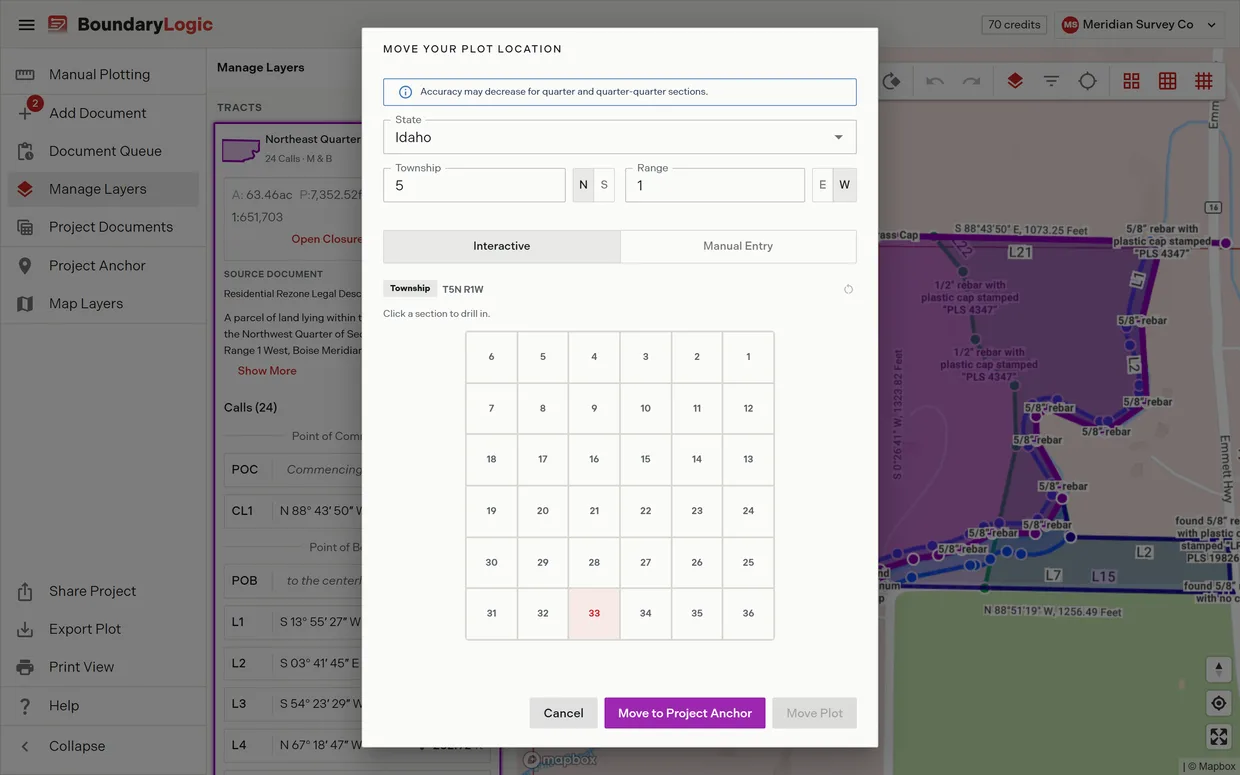
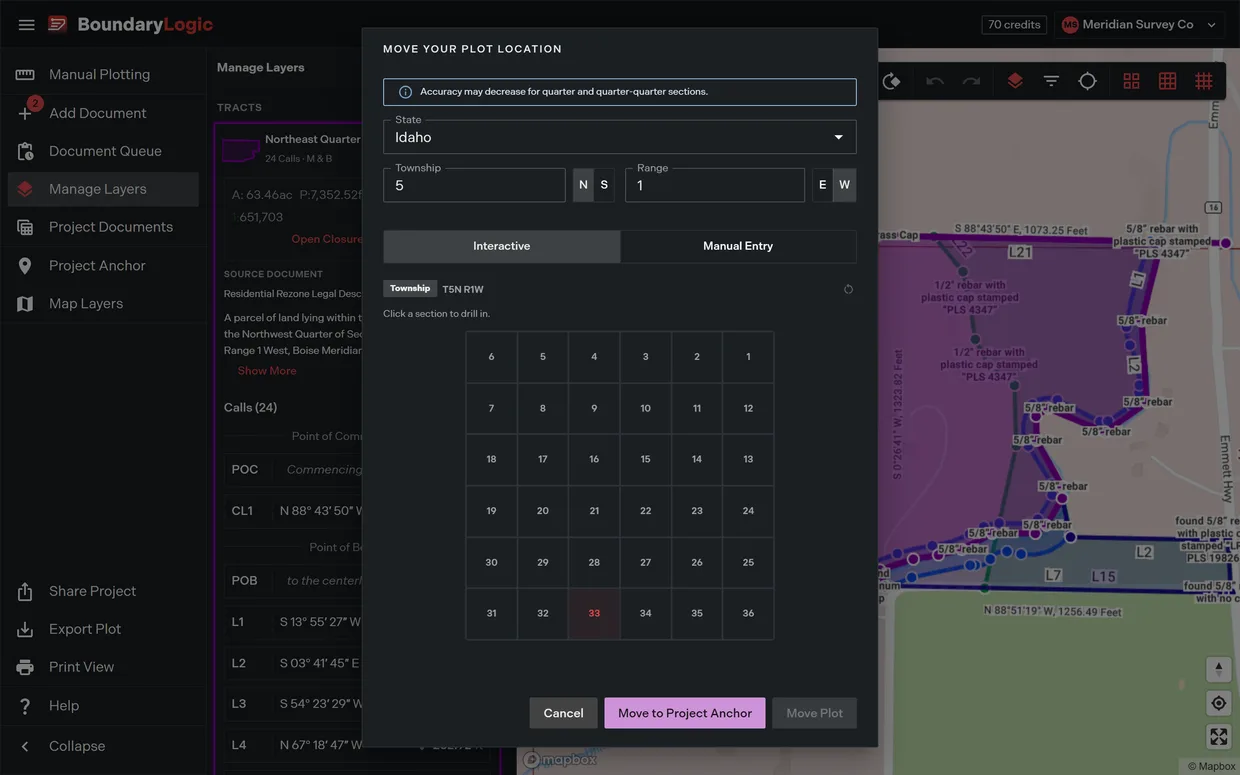
- Optional: switch the panel from Interactive to Manual Entry to type the section number instead of clicking it. Manual entry adds a Section field beside State, Township and Range.
- Choose the state. Until you do, the panel reads “Select a state to continue.”
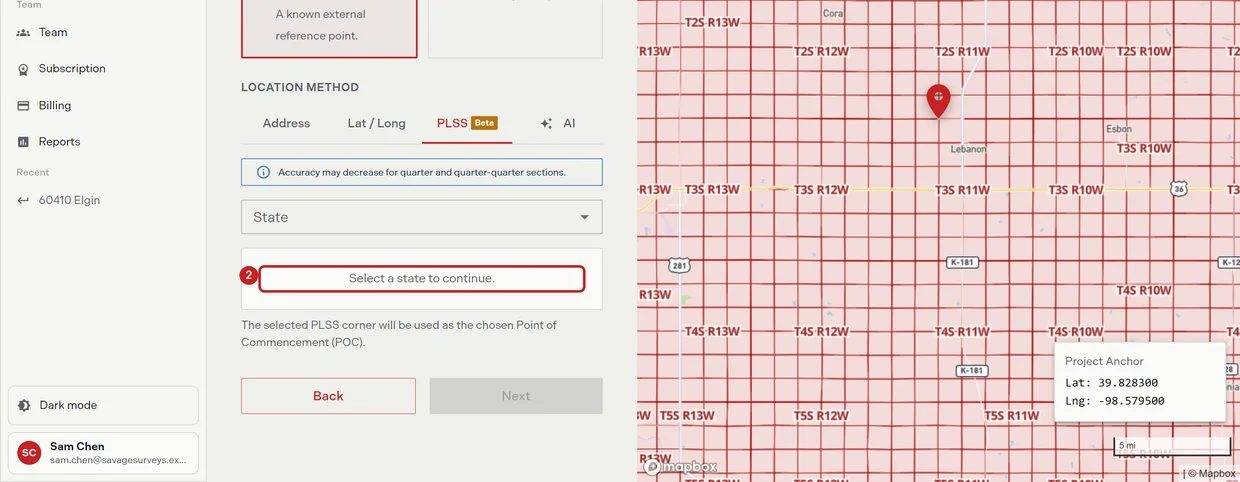
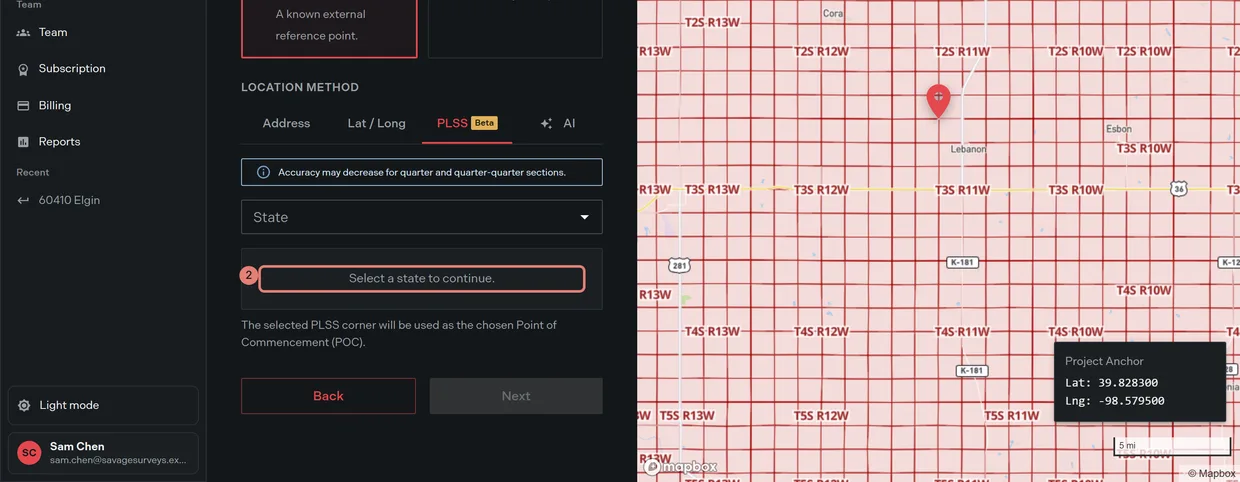
- Enter the township and range, with their N or S and E or W toggles. The panel reads “Validating township…” while it checks. A township with no grid comes back invalid.
- Click the section. The grid lays out the 36 sections in survey order, 6 through 1 across the top row, then 7 through 12, and so on. Sections missing from the township are not selectable.
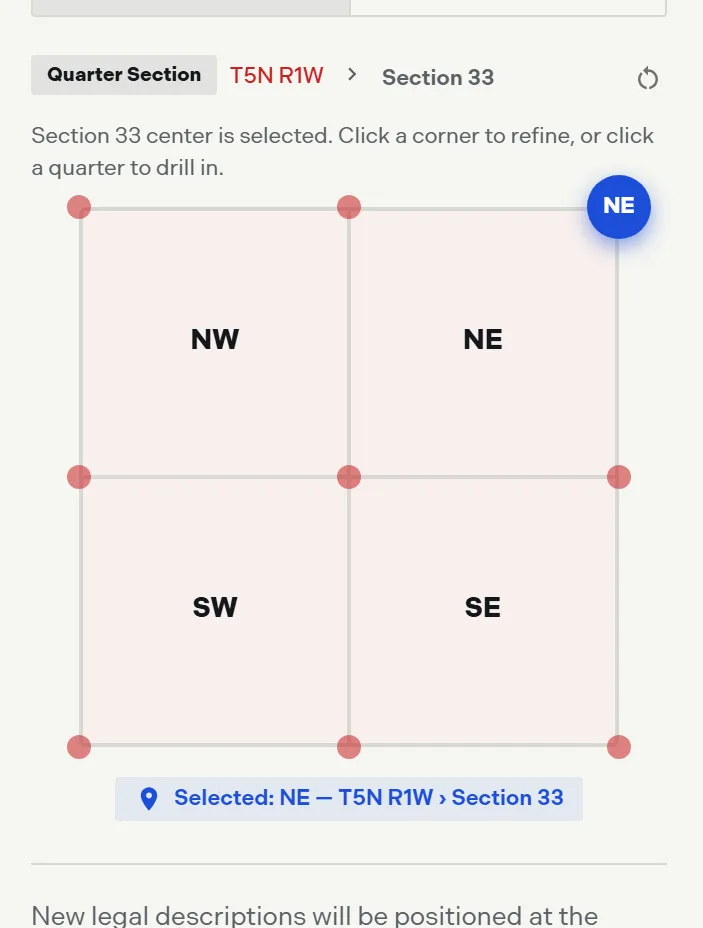
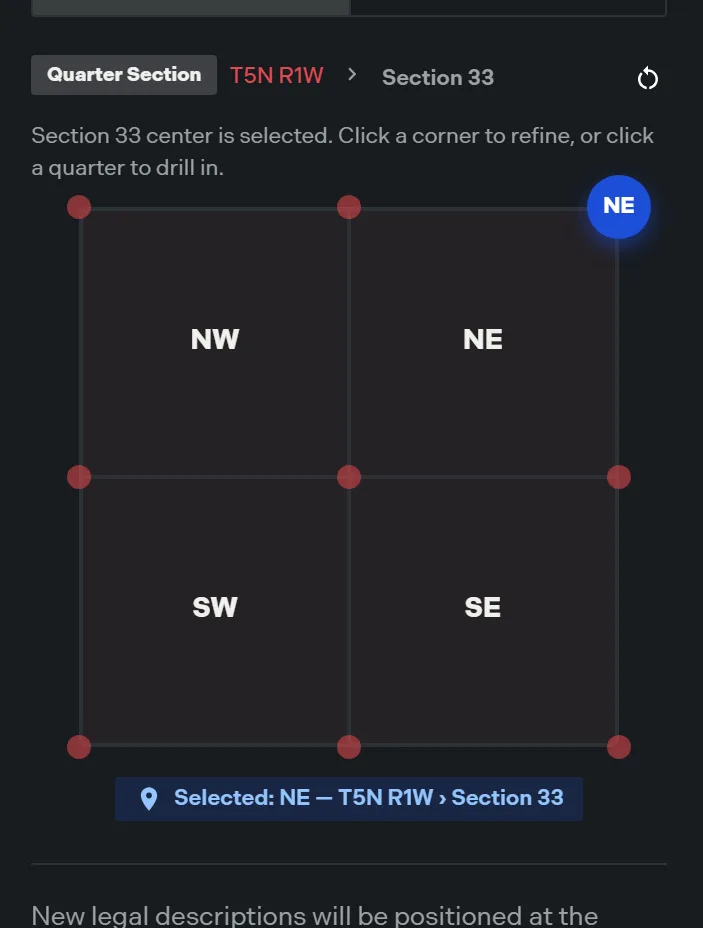
- Optional: click a quarter to refine, then a quarter quarter to refine again. The panel reports what is selected and how to go further. An irregular section blocks the drill.
- Choose a placement target: one of the eight corners, or Place at center. Corners missing from the source data are not offered.
The panel warns that “Accuracy may decrease for quarter and quarter-quarter sections.” A section corner is the strongest position it can give you; the finer subdivisions are computed from it.
Where the panel appears
Moving a plot
- Right-click the plot and choose Move Plot to Location.
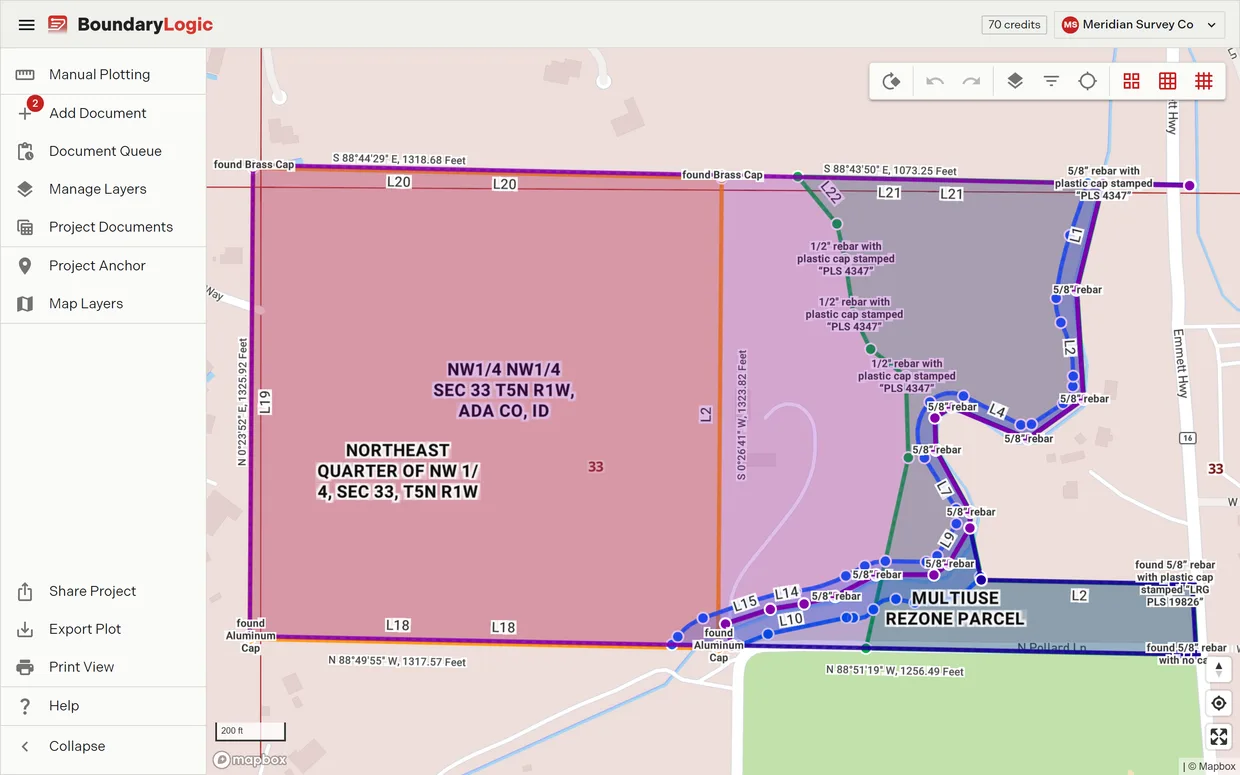
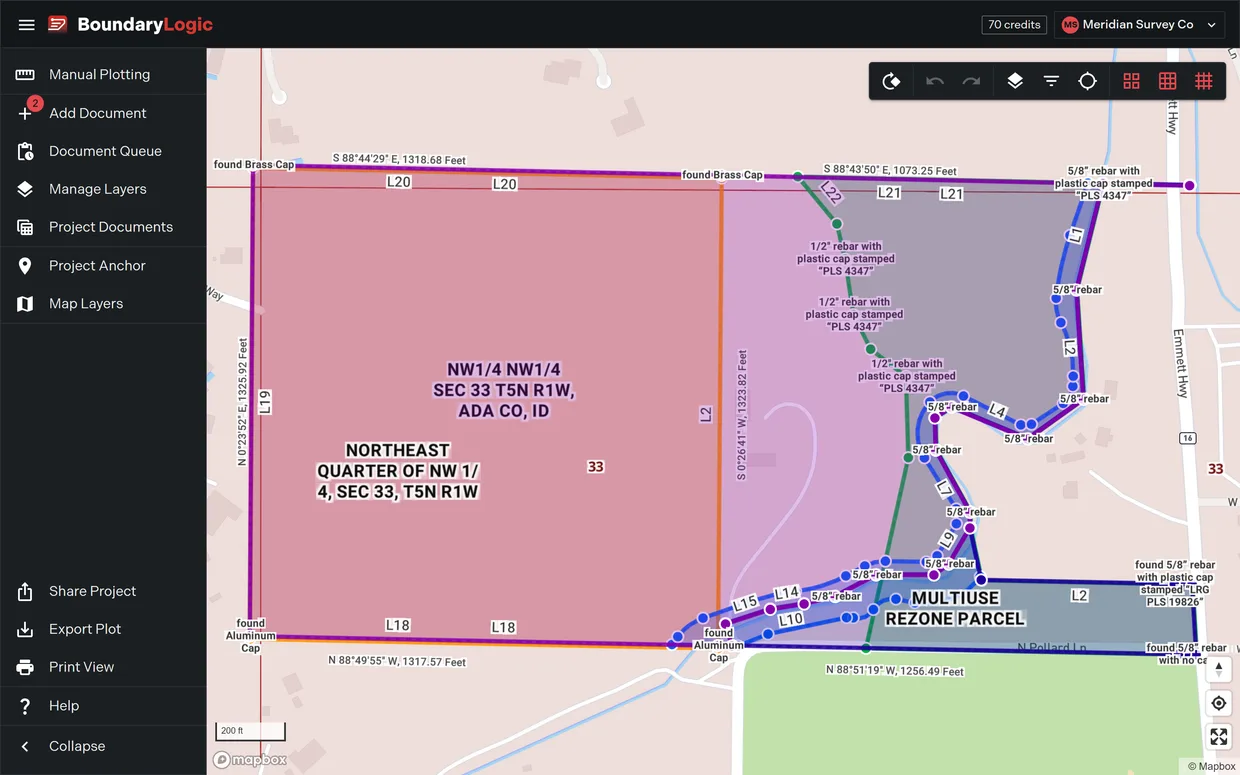
- Switch to the PLSS tab. The three PLSS map grids switch on behind the dialog, so you can see where the plot is going.
- Click Move Plot to confirm it.
Move a plot carries the full sequence.
Setting the project anchor
- In the project menu, click Project Anchor.
- Choose the PLSS method.
- Drill to the corner.
- Click Save Project Anchor.
The anchor is where new legal descriptions and new image overlays land, so setting it before you upload saves moving things afterwards. The pane also sets Anchor Type, which decides whether new plots anchor by their point of commencement or their point of beginning.
Creating a project
The create project wizard offers PLSS as one of its anchor methods, using the same panel.
PLSS placement needs Professional or above. On Free the PLSS tab and the wizard’s PLSS method open the plan chooser instead of switching, and the grid toggles stay frozen.
Related
- Move a plot, for the move dialog end to end
- PLSS grid overlays, for drawing the grids on the map
- PLSS calls, for aliquot descriptions typed into the plotter
- Aliquot part and quarter section in the glossary
- Locating a PLSS aliquot description, if you are starting from zero