

Availability: All plans · Role: owner
Set your team’s name and address, and put your logo on the work you send out.
Before you start
- You are the team owner. Admins do not get the edit control.
Steps
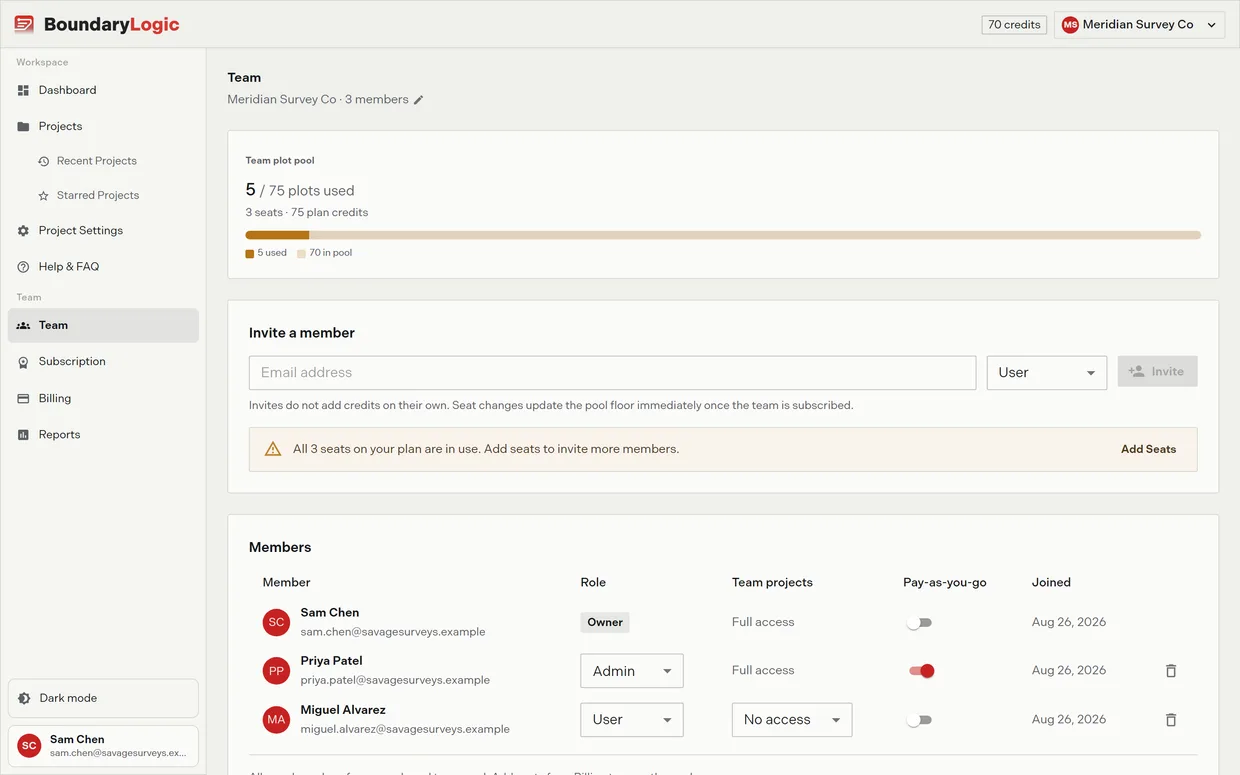
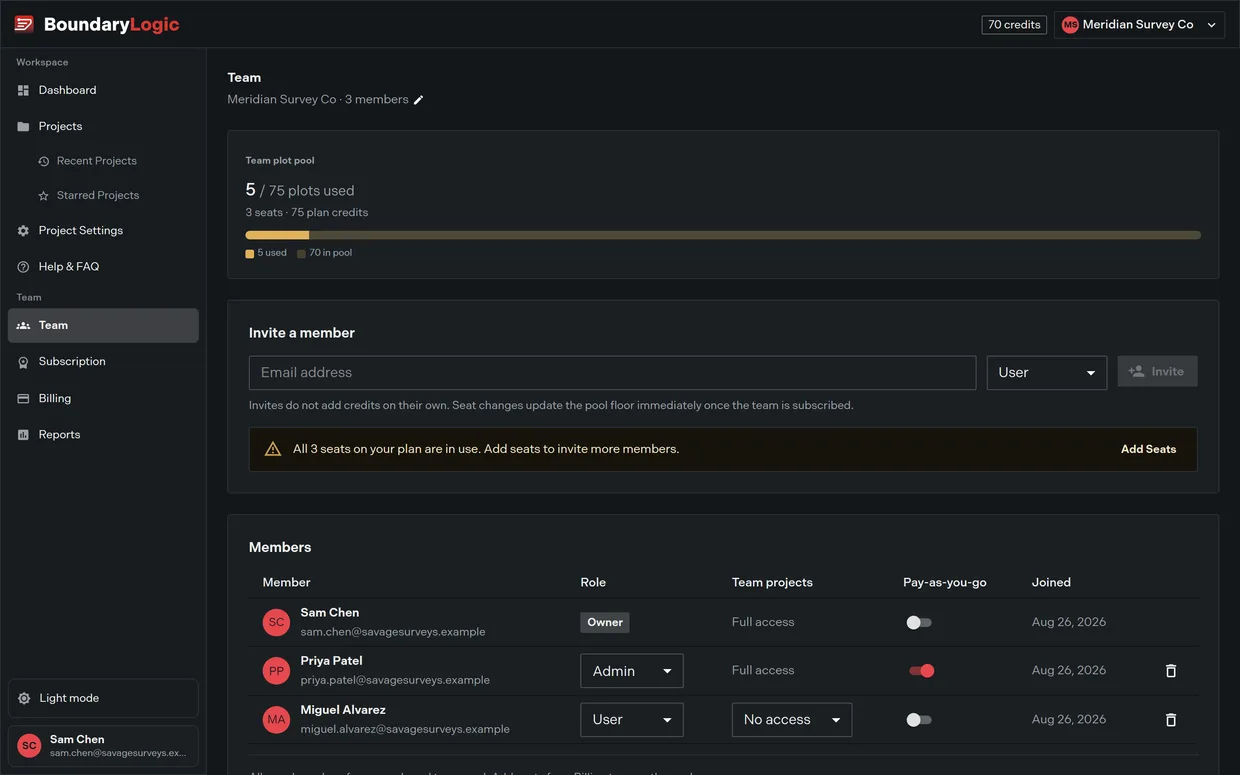
- Go to the Team page.
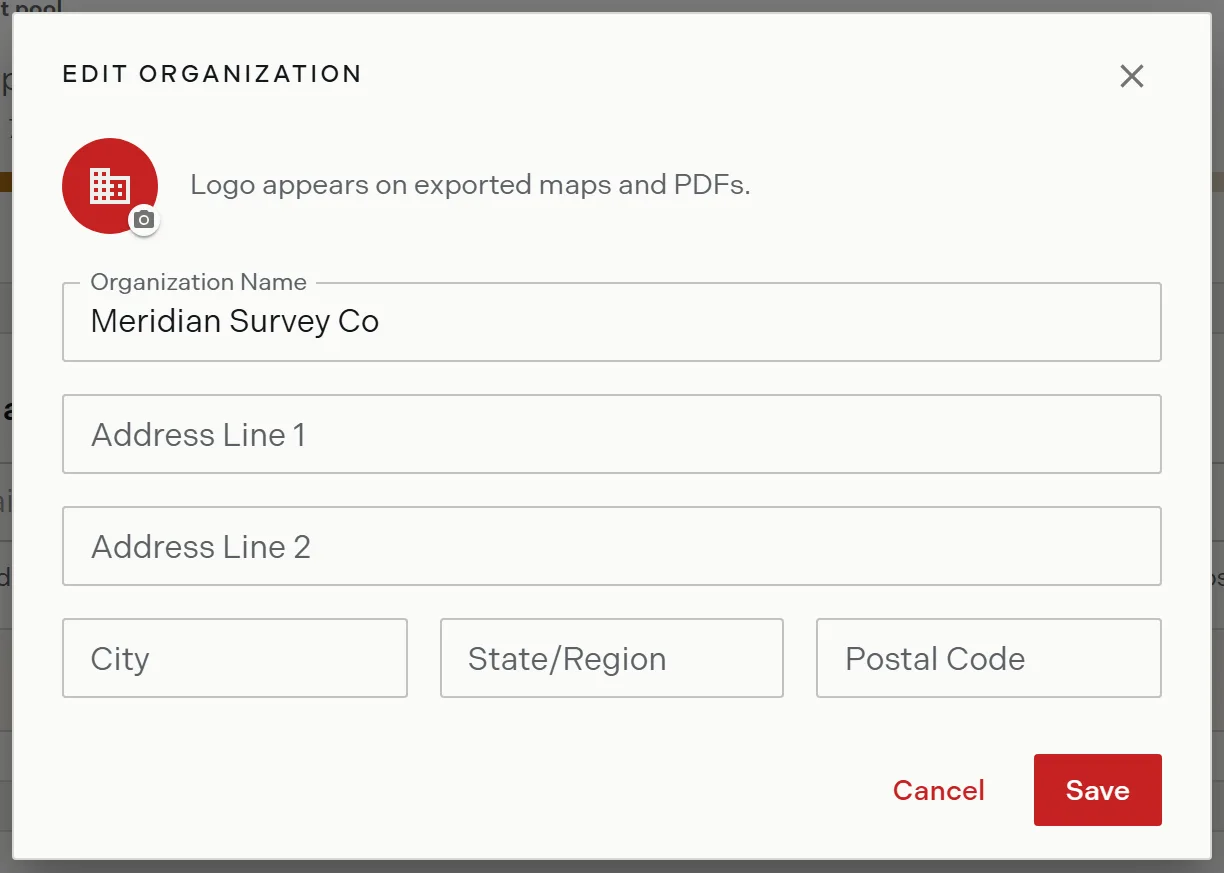
- Next to the team name, click the pencil. The edit organization dialog opens.
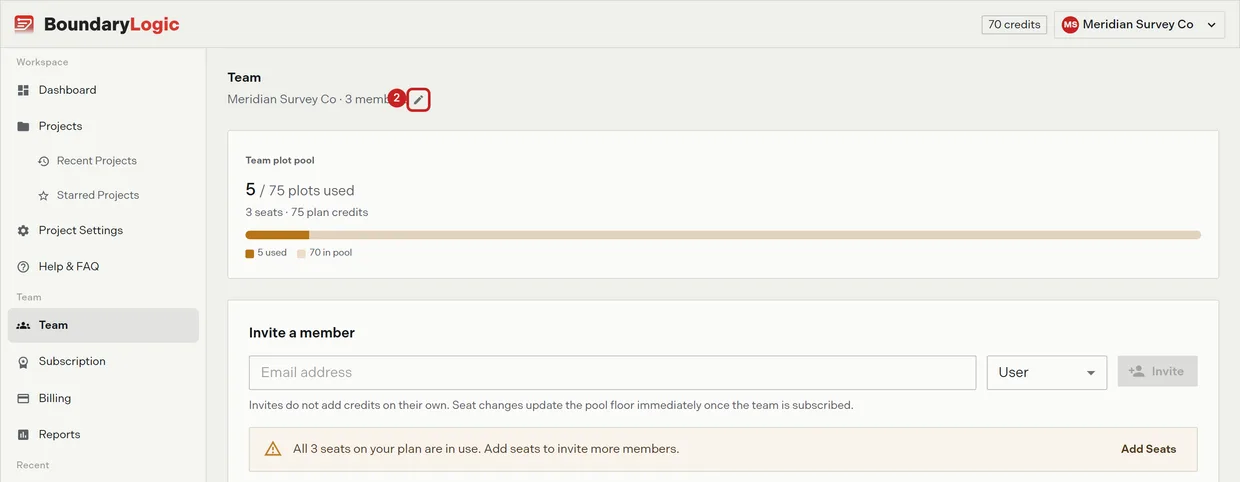
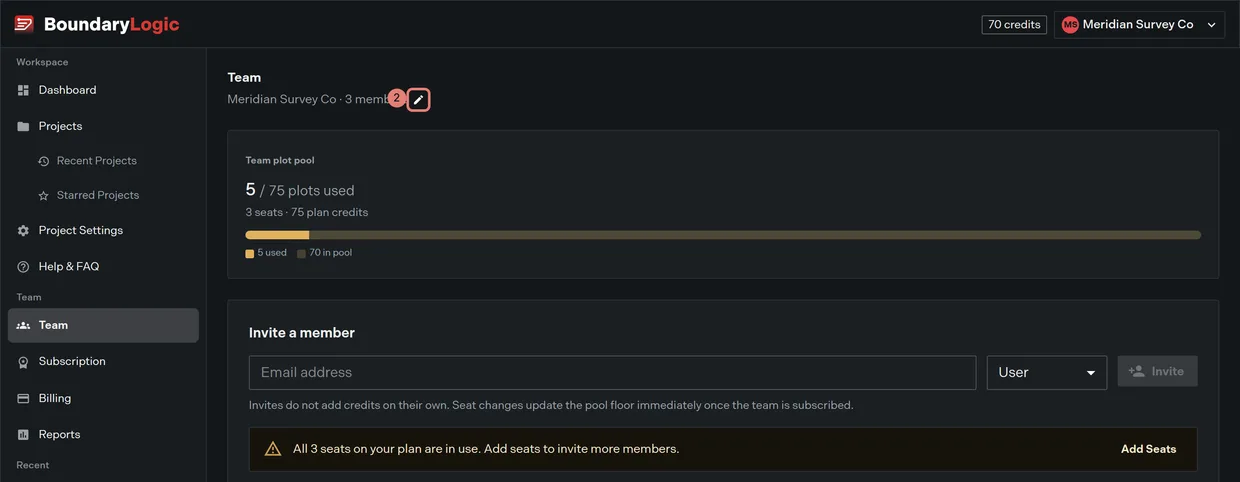
- Fill in Organization Name. It is required.
- Optional: fill in Address Line 1, Address Line 2, City, State/Region and Postal Code.
- Click Save. Trace confirms that the organization was updated.
Adding a logo
- In the edit organization dialog, click the camera badge on the logo avatar.
- Choose a JPG, PNG or GIF up to 5MB.
- Crop it to the 4:1 frame.
- Click Upload Logo.
The logo then leads the header a guest sees on a shared project, and it replaces the default mark on exported maps and PDFs. To remove it, use the delete badge beside the camera.
Custom logos need Expert or Enterprise. Below that the camera opens an upsell rather than the crop dialog, and the delete badge is absent, so a team that drops below Expert keeps the logo it already saved but cannot change or remove it.
Where the organization name shows up
The Team page header reads the team name with the member count beside it. The name also appears under the project name in the header of a shared project, so it is what a client sees on a link you send.
Related
- Title blocks and logos on PDF, for branding an export
- What guests see, for the header on a shared link
- Teams in Trace, for the rest of the Team page