

Availability: All plans. Role: edit access on the project.
An easement described from a centerline is not a closed boundary: it is a run of courses with a width carried either side of them. BoundaryLogic Trace plots the centerline you type and generates the corridor around it. Use New easement to declare the width, and a width table where the record changes it partway along.
Before you start
- Read the width out of the record first: one width throughout, different widths each side, or a width that changes over named parts of the run.
- Trace handles a width stated geometrically, against a course or a described point. A width that changes by station is not handled.
Declare the easement
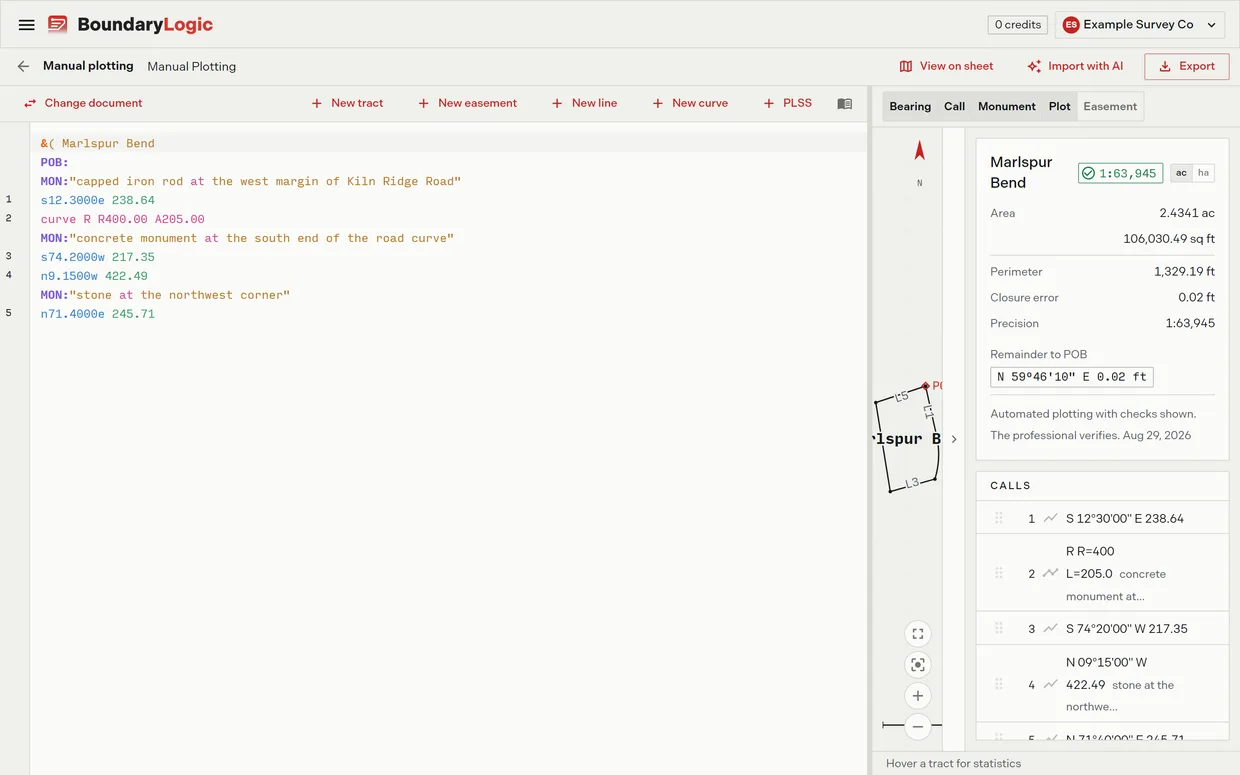
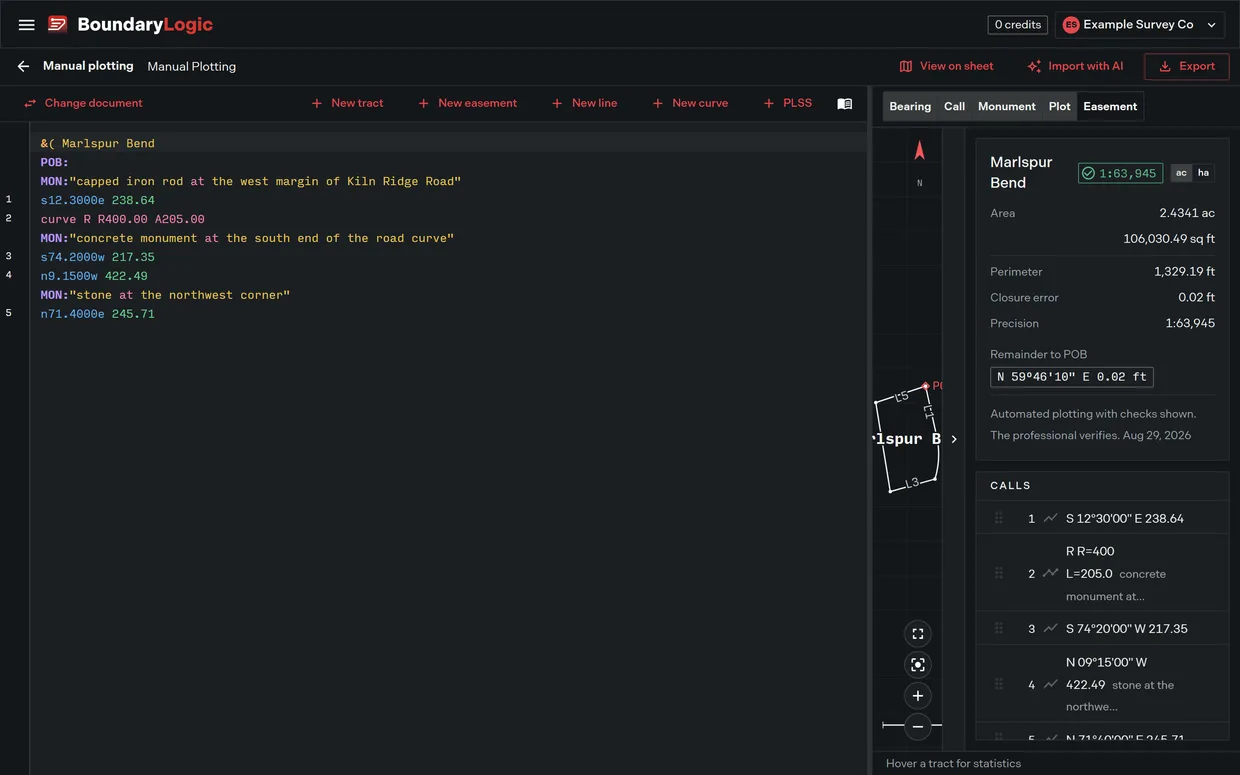
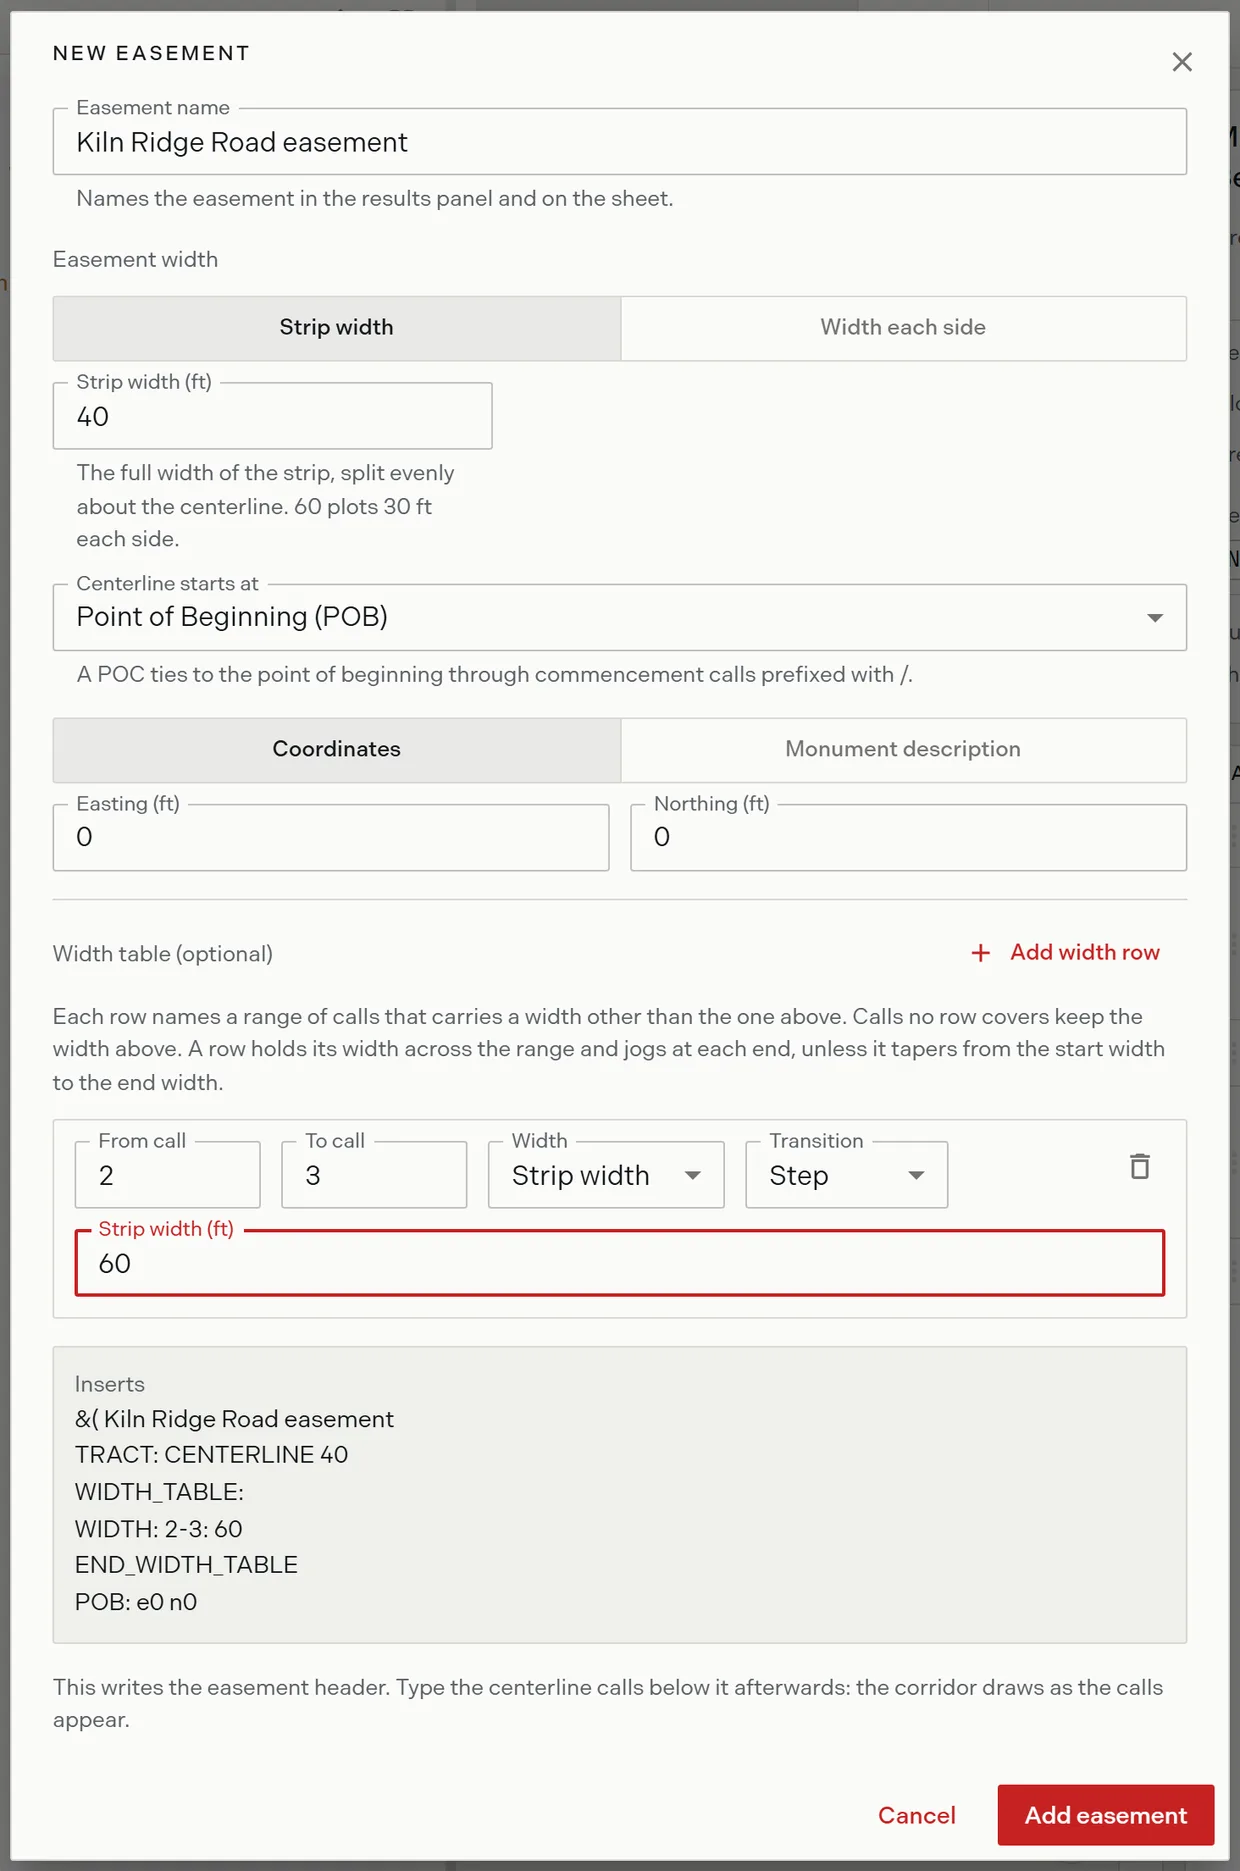
- On the editor toolbar, click New easement. The form opens for a centerline easement.
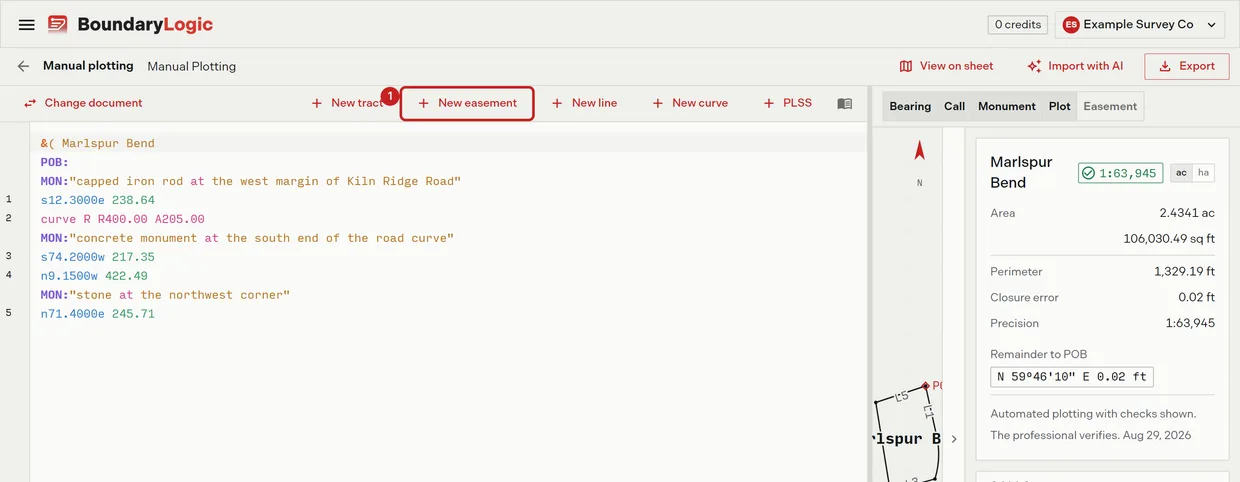
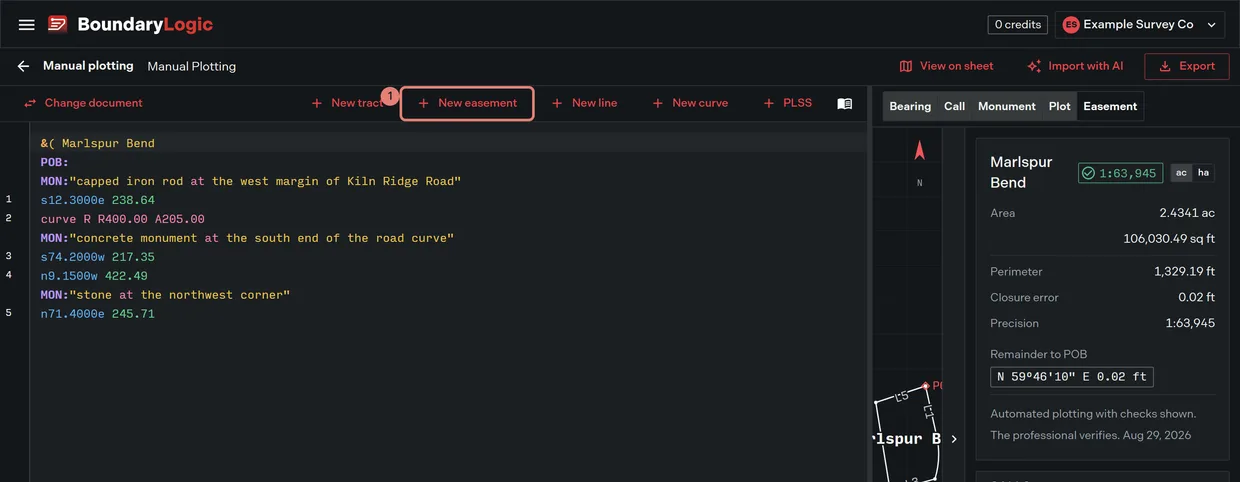
- Name the easement. This is the name that appears on the plot sheet and in the project’s layers.
- Set the width. Strip width splits the figure evenly about the centerline, so 60 plots 30 feet each side. Each side takes a left and a right figure, measured against the direction of travel, and accepts zero on one side for a one sided corridor.
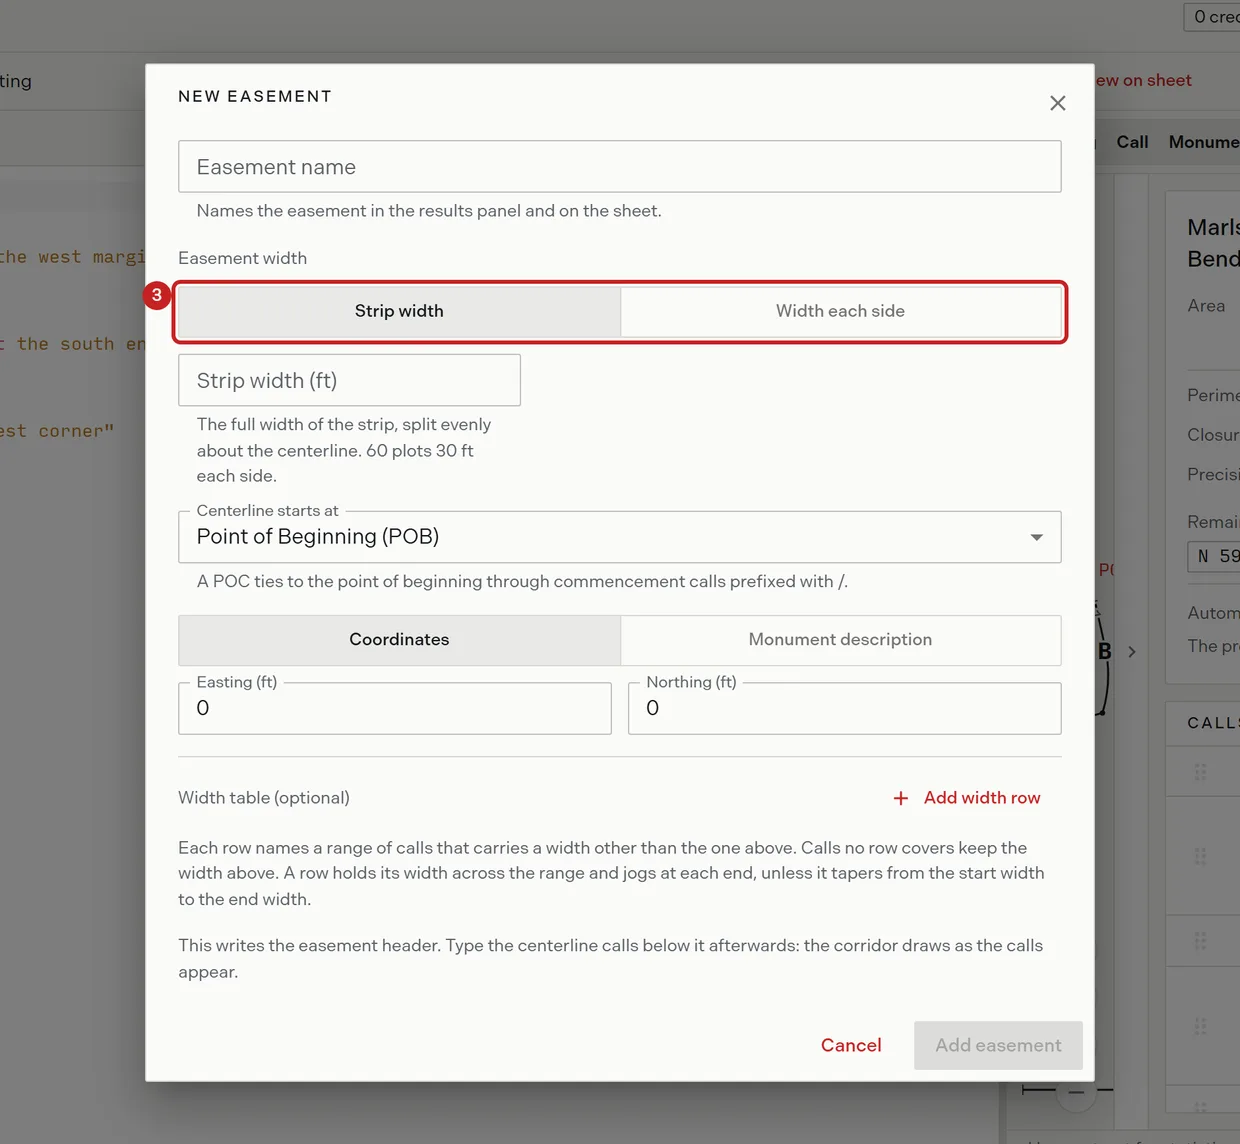
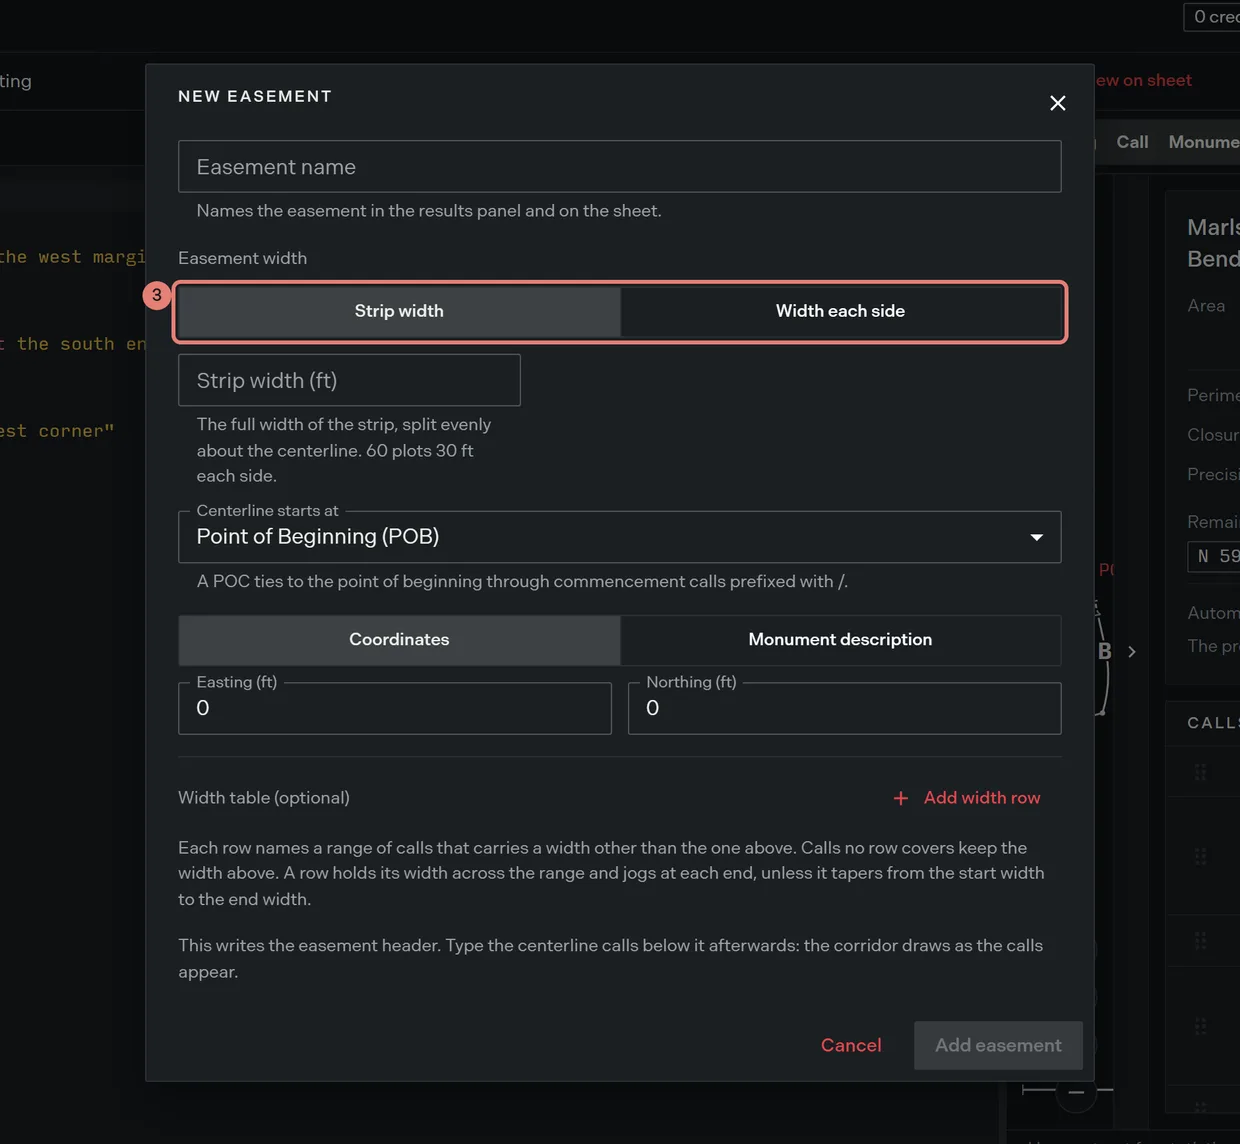
- Choose where the centerline starts: a point of beginning, or a point of commencement tied to it through calls prefixed with a slash.
- Anchor that point by coordinates or by a monument description, the same two ways a tract is anchored.
- Optional: add a width table row for each range that differs from the declared width. Each row is covered in the next section.
- Read the preview. It shows the declaration, then the width table, then the origin, in the order Trace expects.
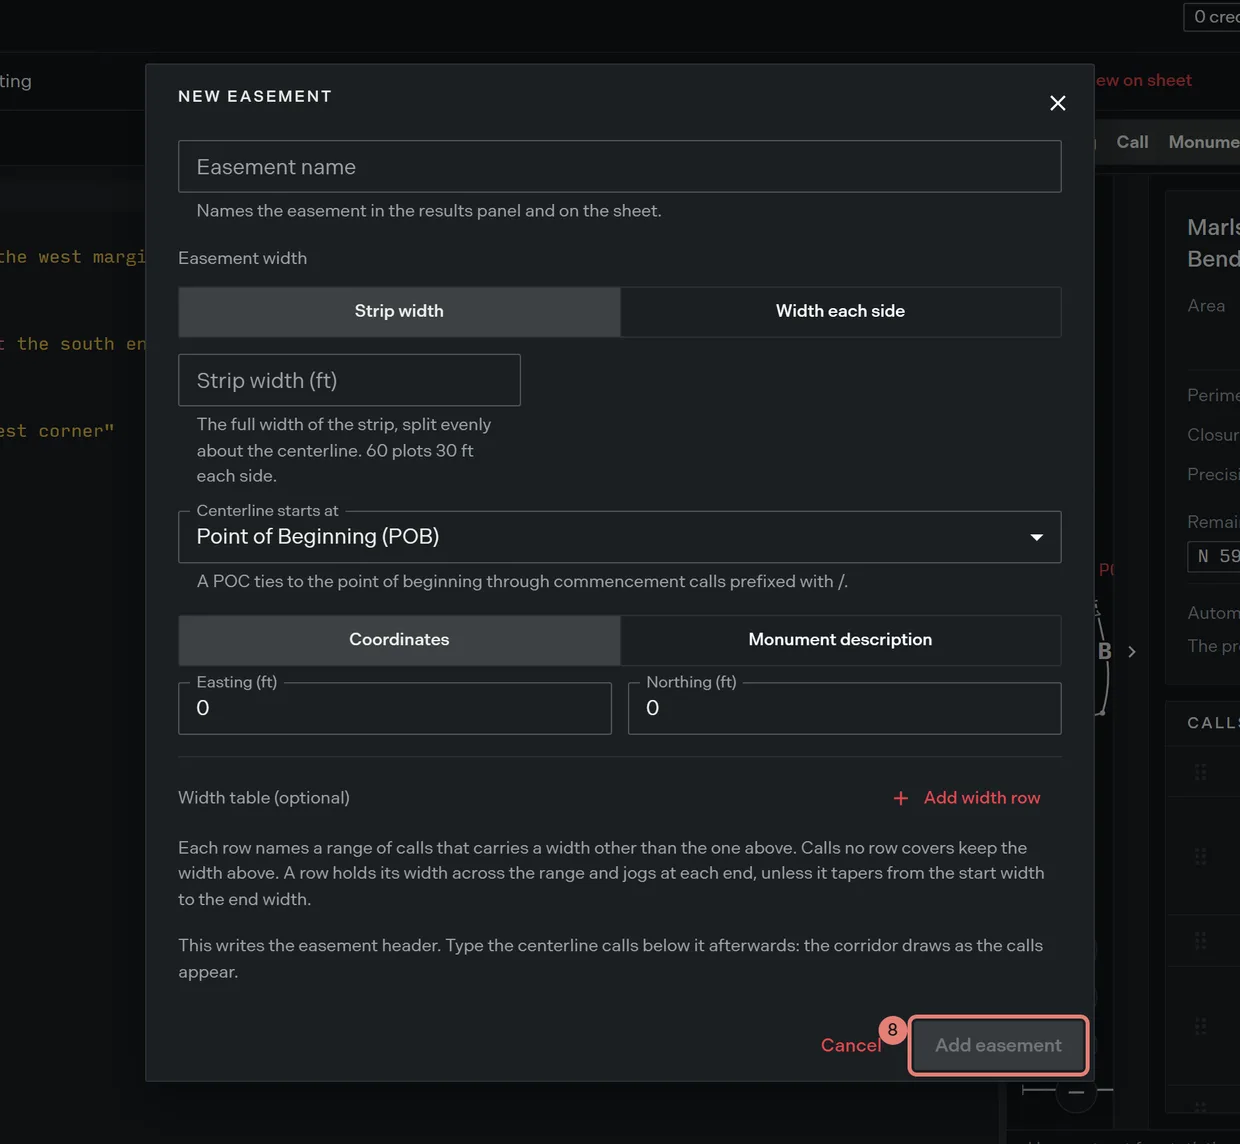
- Click Add easement. The button stays disabled until the name, the width, the point and every width row are complete.
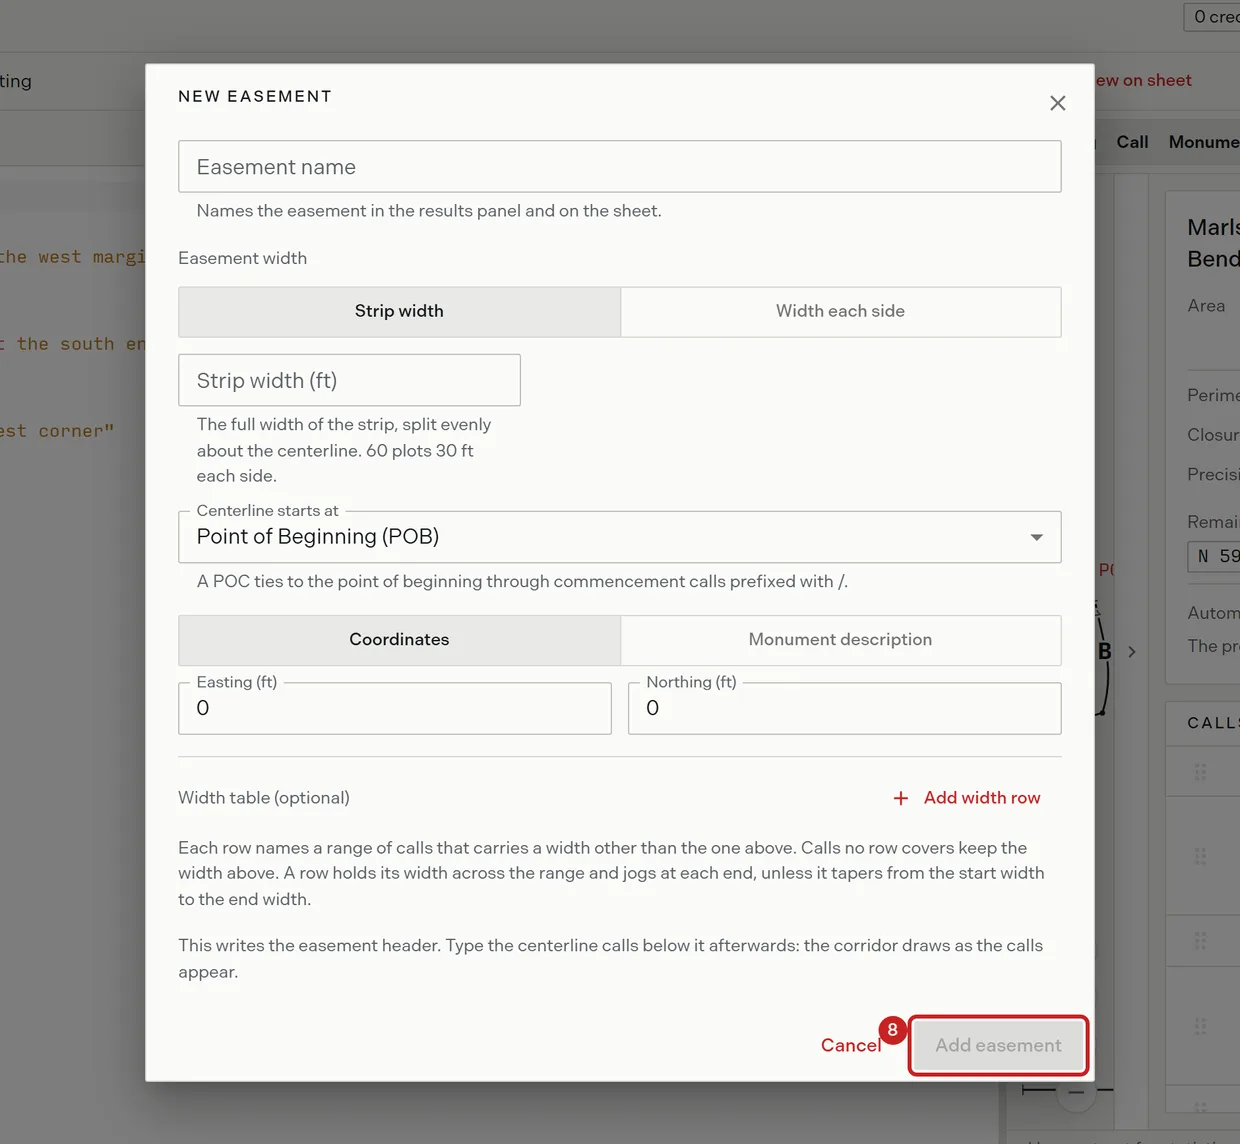
- Type the centerline calls below the block. The form writes only the header; the corridor draws as the calls appear.
Add a width table row
A width table row names a range of calls that carries a width other than the declared one. Calls no row covers keep the declared width.
- Click Add width row.
- Enter the From call and To call numbers. The range is inclusive. A bad range turns the box red and blocks the insert.
- Choose Strip width or Each side for that range.
- Choose the transition. Step holds the width across the range and jogs at each end. Taper adds the end width boxes and relabels the start ones, so the width changes smoothly instead.
- Optional: repeat for each further range. Remove a row with its delete control.
Where two rows overlap, the later row wins and the editor cautions Overlapping width specifications at calls 2 to 2. On a variable width easement, any run no row covers returns Width not specified for calls 2 to 3. Where the corridor would reach the centre of a curve on its own centerline, that call returns Inside offset exceeds curve radius. Deed syntax reference carries the width table forms the editor accepts, including tapers, explicit sides and cardinal sides.
Read the corridor on the sheet
A centerline tract draws its baseline in a dash dot pattern plus the outline of the corridor it generates. Turn on the Easement label button above the plot to dimension it: the half widths print as left over right text at the corridor ends and at each width change, such as 15/15 ft and 30/30 ft. That button is off by default.
The tract card reports the easement area in place of the closure figures, and states Open centerline traverse. No closure figures. A corridor is not a closed boundary, so there is nothing for a closure error to measure.
Read the corridor report
For the corridor arithmetic in full, open the report from the layer’s card on the Manage Layers page. On a centerline legal description the card’s button reads Open Corridor Report rather than Open Closure Report.
The report gives four cards: Area, Centerline Length in feet and meters, Stations counting the courses that make up the centerline, and Width, shown as a single figure with its left and right split where the corridor is uniform and as a range where it varies. Under them, a width table lists every course with its type, its bearing or its curve, its length, and its left, right and total width, totalled at the foot. Courses with no width set are shaded and italic. A description with nothing plotted yet reads No corridor segments have been plotted yet.
The layer card itself carries a compact version of the same width table, if you want the offsets without opening the dialog.
Related
- Deed syntax reference, for the centerline declarations and every width table form
- Tracts and points of beginning, for a closed boundary instead
- The corridor report, for the report in full
- Manage Layers, for the card the report opens from
- Reading easement descriptions, centerlines and corridors, to work through one from zero