

Availability: All plans
Default Settings decides how every new project opens and how every boundary draws before you touch anything. Setting it once saves repeating the same choices on every job.
One thing to know first: these defaults are stored in the browser, not on your account. Set them again on each computer and browser you use. They also do not follow you to a teammate; everyone sets their own.
Steps
- In the sidebar, click Project Settings. The Default Settings page opens.
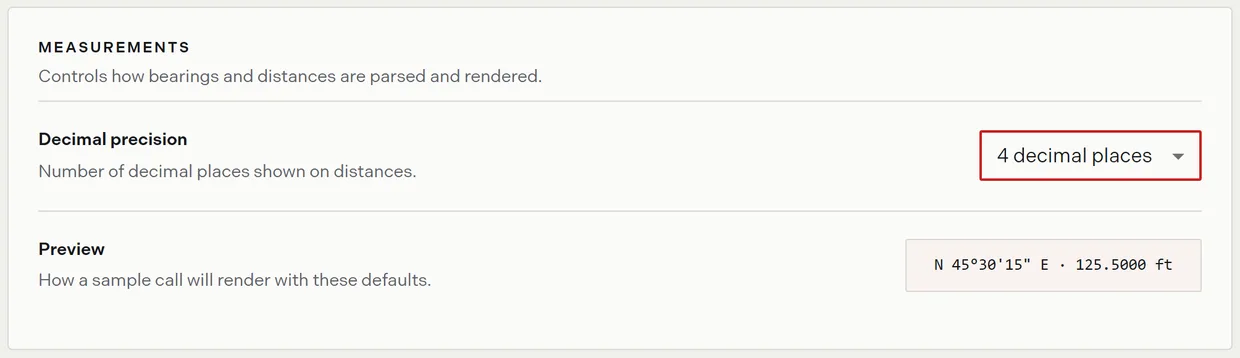
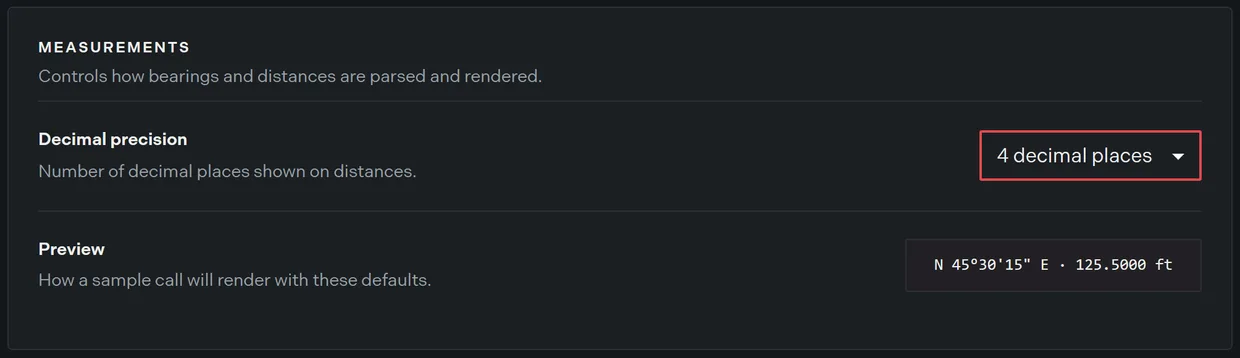
- Set Decimal precision to 1, 2, 3, or 4 places for distances. The sample call preview under it redraws so you can see the result before you leave the page.
- Choose the map mode new projects open in from the nine cards. Each card has a tooltip describing it, and the one in use takes a colored outline.
- Turn the boundary labels on or off. Call Markers, Monuments, Bearing Labels, and Legal Description Labels are all on to start with. A filled icon means on.
- Optional: turn on the PLSS grid layers you want drawn by default. Township, Section, and Quarters are all off to start with.
- Set Auto-plot after processing. Leaving it on puts descriptions on the map as soon as a document finishes. Turning it off holds them so you can review the calls first.
- Choose your theme: Light, Dark, or System.
Every setting takes effect as you set it. There is no save button.
On Free only Sheet View and Streets can be chosen, and the PLSS layers cannot be turned on. The other cards and tiles stay visible but frozen, with the tooltip “Available on Professional. Upgrade to unlock all map modes and PLSS layers.” What you can use follows the team you are currently in, not your account, so switching teams changes what is selectable.
What each setting does
| Setting | What it controls | Default |
|---|---|---|
| Decimal precision | Decimal places shown on distances | 2 |
| Default map mode | The map a new project opens in the first time | Set by you |
| Call Markers | Numbered markers on each course | On |
| Monuments | Monument markers at call points | On |
| Bearing Labels | Bearing and distance on each call | On |
| Legal Description Labels | Name labels on each plot | On |
| Township, Section, Quarters | PLSS grid layers drawn by default | Off |
| Auto-plot after processing | Places descriptions as soon as processing finishes | On |
| Theme | Light, Dark, or follow the device | System |
Switching theme quickly
The sidebar carries a one-click theme button next to your user card. It is labeled with the theme it will switch to, so it reads Dark mode while you are in light. Clicking it sets an explicit Light or Dark preference and overrides System.
Under System, Trace follows your device’s light and dark schedule as it changes. An explicit choice ignores the device. Either way the choice sticks per browser.
Changing the default map style from a map
Right-click a project map, then choose Change Default Map Style from the Map Actions menu. It leaves the project and opens this page. The menu appears only once a project has plotted data, so right-clicking an empty project’s map opens nothing.
Related
- Map modes and styles, for what each map mode looks like
- Map labels and markers, for the label toggles in a project
- PLSS grid overlays, for the grid layers
- Account settings, for your profile and sign-in
- Take the guided tour, for the tutorial reset on this page