

Availability: Professional, Expert and Enterprise · Role: edit access on the project.
You have plotted the deed and you want to know whether it agrees with the recorded plat in the file. BoundaryLogic Trace puts the plat under your plot as an image layer, and you line the two up by hand.
That is what the image layer is for: plats, surveys, aerials, exhibits, anything worth looking at behind the geometry. It is not a way to plot a document. A deed scan uploaded here is a picture on the map and nothing more. To get calls out of a document, add it as a document instead.
What you will need
- A project with at least one plotted legal description in it, and edit access on the project.
- Image Overlays, which need Professional or above.
- The plat as a PNG, JPEG or TIFF file.
1. Set the project anchor before you upload
A new overlay lands on the project anchor, every time. Get the anchor right first and the plat arrives near your plot. Get it wrong and the job starts with dragging an image across the county.
In the project menu, click Project Anchor. Set the anchor from a street address, typed coordinates or a PLSS corner, then click Save Project Anchor. A project whose tracts already sit where they belong has an anchor you can leave alone.
2. Add the plat as a layer
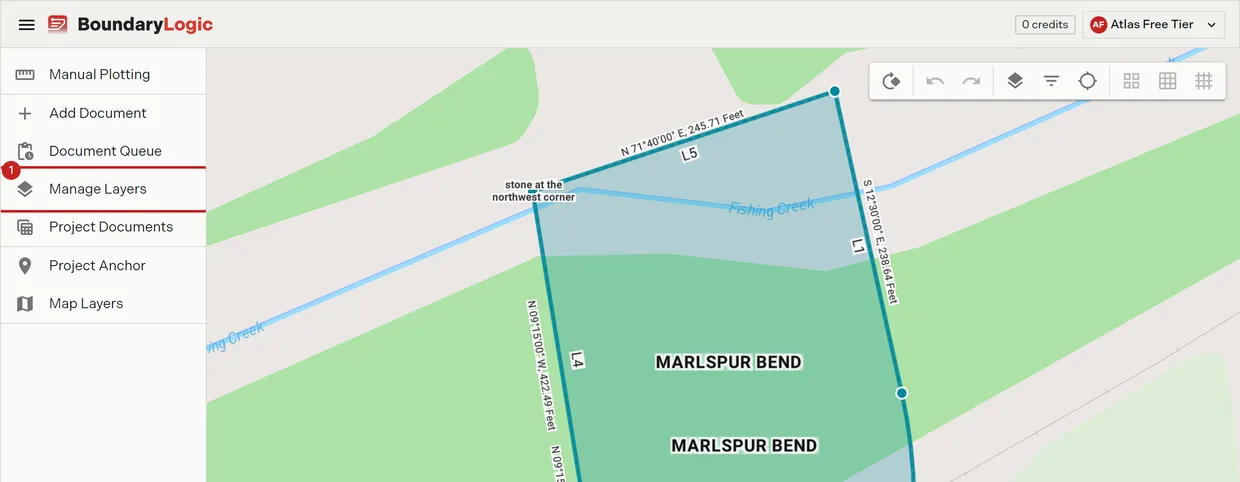
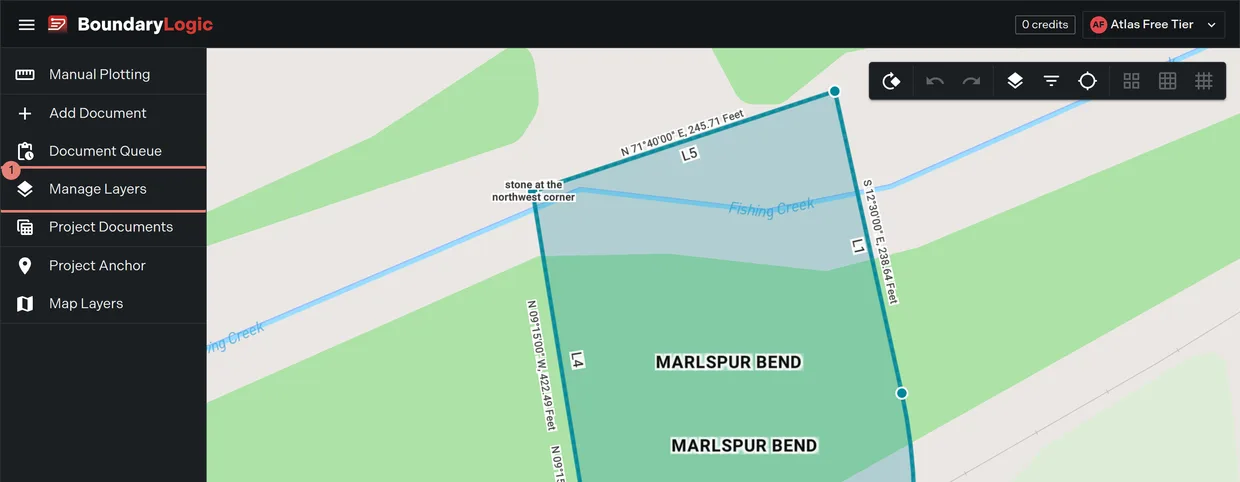
- In the project menu, click Manage Layers.
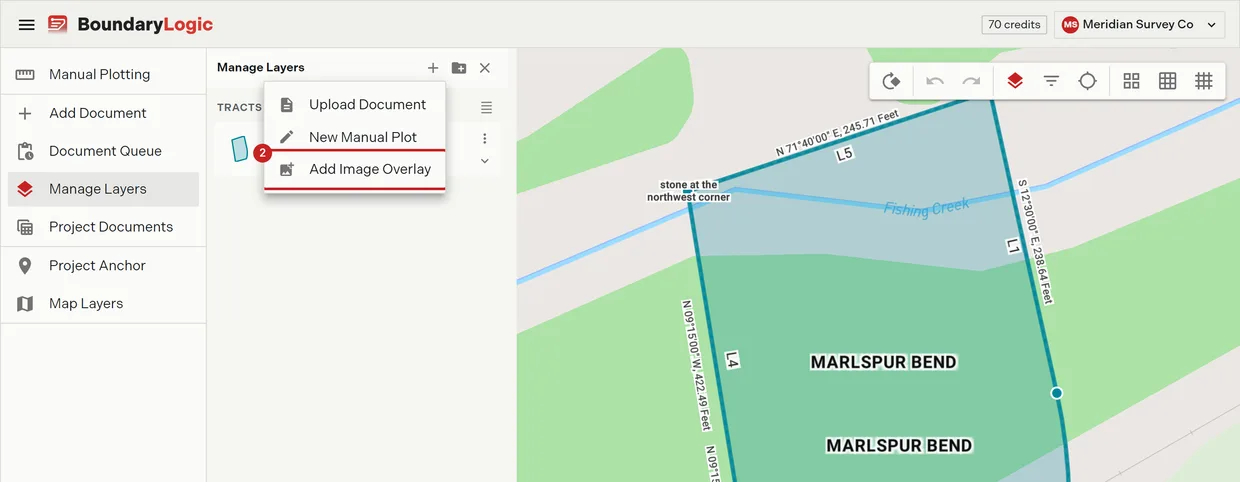
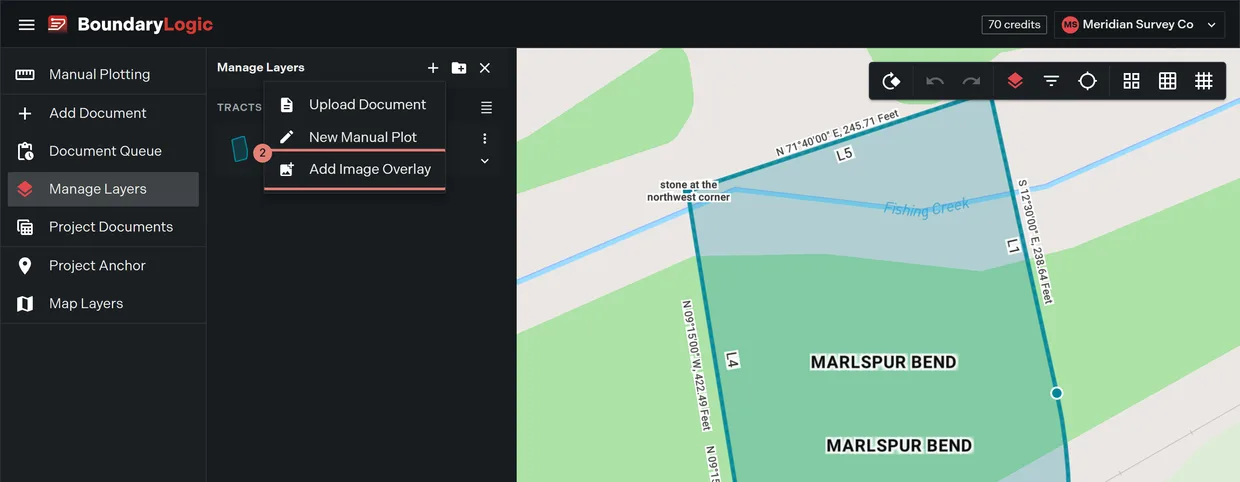
- In the pane, click Add layer, then Add Image Overlay.
- Drop the file on the dropzone, or click Browse Your Files. The dialog takes one image and previews it with a remove button. Anything else is refused with “Only a single PNG, JPEG, or TIFF image is accepted.”
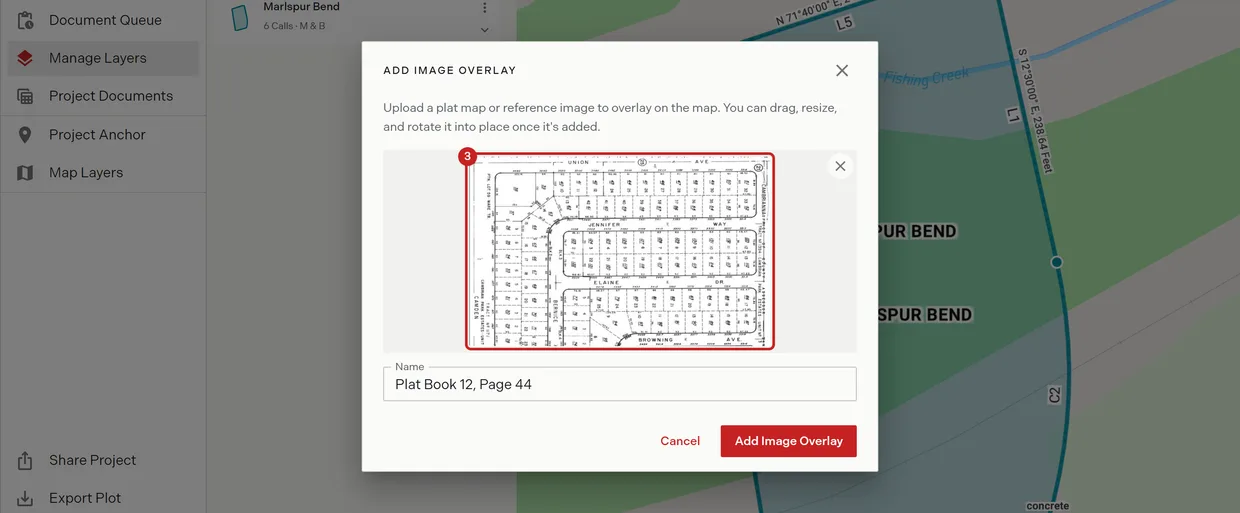
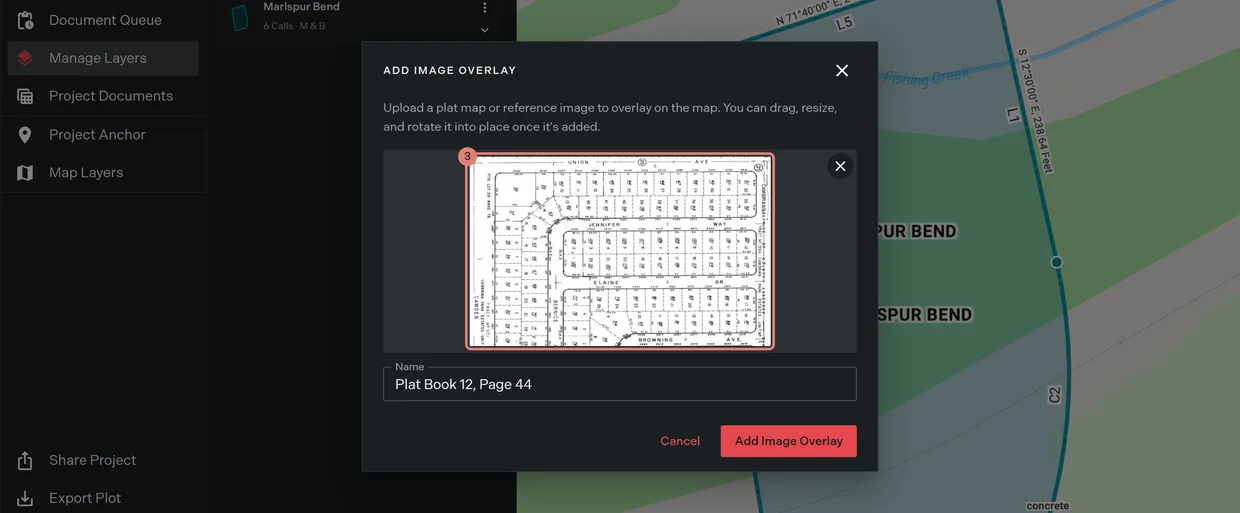
- Check the Name field. It fills itself from the file name, which is rarely what you want the layer called six months from now.
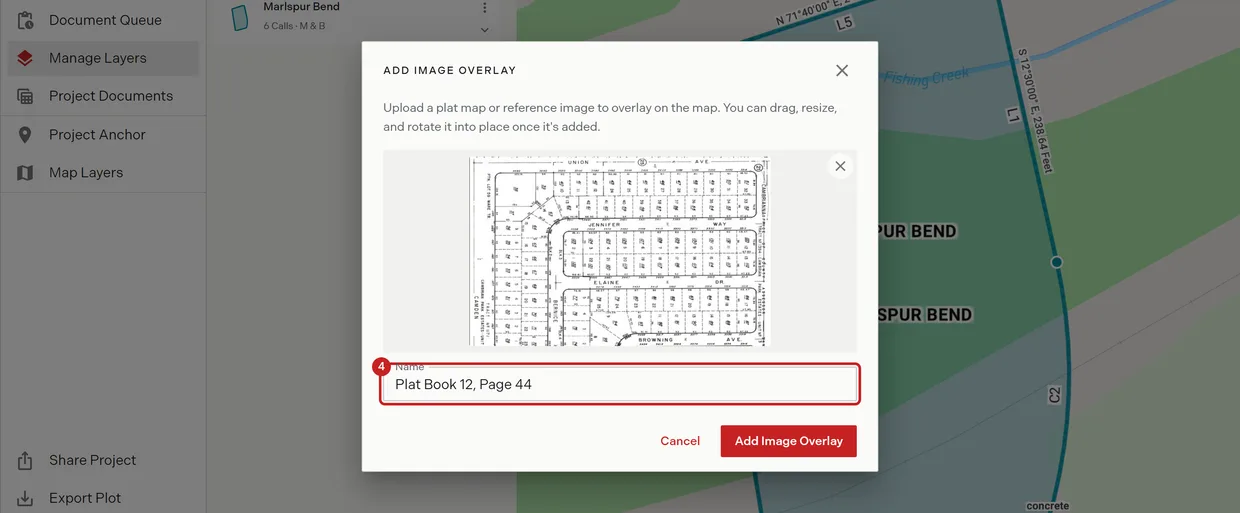
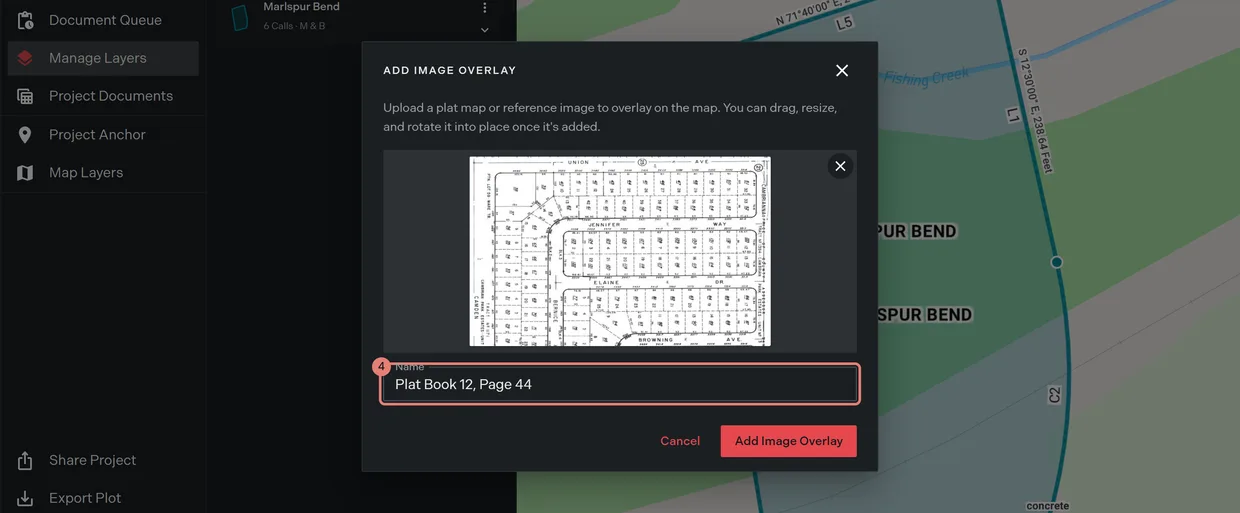
- Click Add Image Overlay. Trace creates the layer at the project anchor, selects it, centers the map on it, and confirms with “Image overlay added. Drag it into place on the map.”
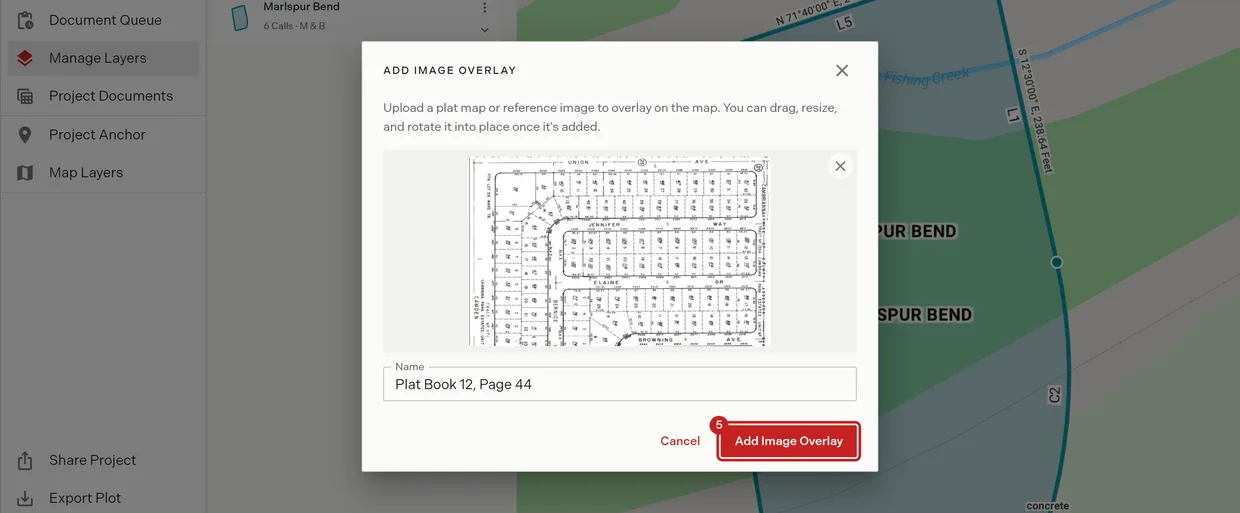
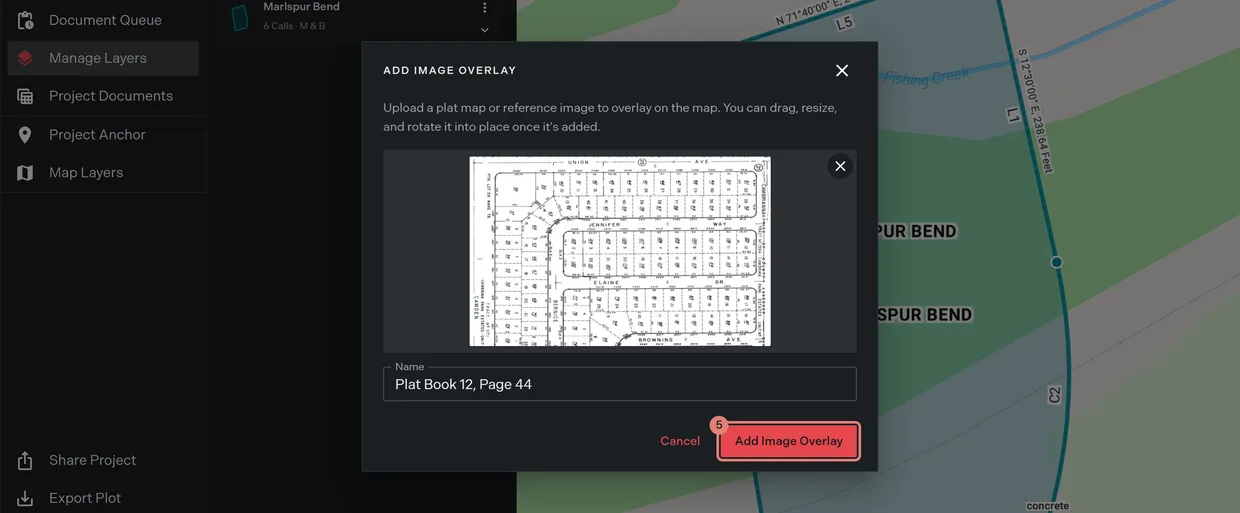
Nothing in the file is read for position. Every overlay lands on the anchor whether or not the image carries coordinates of its own, so where it goes next is your hand.
3. Line it up
Click the image on the map. Four corner handle pairs appear: a resize handle at each corner with a rotate ring just outside it.
- Drag the body of the image to move it. Trace saves the new center when you let go.
- Drag a corner handle to scale it. The scale is uniform, so the aspect ratio holds and there is no stretching one axis to force a fit.
- Drag just outside a corner handle to spin the image about its center.
Sequence beats precision on the first pass. Move the plat so one corner you can identify on both drawings sits on its match. Rotate until a long boundary line on the plat runs parallel to the same line on your plot. Then scale until that line’s length agrees. Both rotation and scale work about the center of the image, so each adjustment nudges the corner you already placed. Expect two or three rounds.
If the image wanders off screen, Center on Project on the map toolbar flies back to the anchor. If you already know where the plat belongs, right-click it and choose Move to Location to re-anchor it by address, coordinates or PLSS description instead of dragging. Rotate Image in the same menu takes degrees and minutes, which beats a drag when the plat states a rotation to apply.
4. Drop the opacity until both drawings read
Right-click the overlay and choose Set Opacity. The map previews as the slider moves, and the readout above it gives the percentage, so a second overlay can be set to match. Drag until your boundary reads clearly through the image without washing the plat out.
5. Read what the overlay is telling you
Be careful about what the comparison is. You aligned this by eye. Trace computed nothing here: no control points, no fit, no residuals. It is two drawings in one frame.
Inside that limit it is worth a great deal, because each way a hand alignment fails says something different:
- One corner sits and the rest walks off. The two drawings disagree on scale, or you scaled to the wrong pair of points. Try the alignment again from a different pair before concluding anything.
- Everything stays parallel but shifted the same way by the same amount. A position difference rather than a shape difference, which is what you get when the plat is drawn to one basis and your plot is anchored to another.
- Lines that should be parallel are not, and no rotation fixes all of them at once. The shapes genuinely differ. This is the one to stop on. Read your calls back against the description, then the description against the plat, and find which of the three disagrees.
None of this is something the app found. Trace shows the checks it computes on the tract itself, closure and precision and area among them; what a plat comparison means is a professional judgment, and the overlay’s job is to put the two drawings in front of you at the same time.
6. Lock it, then order it under the tracts
Once it lines up, pin it before a stray drag undoes the last twenty minutes.
- Right-click the overlay and choose Lock Image, or press L with it selected. Position, scale and rotation are all pinned.
- In Manage Layers, drag the overlay’s card below the tract cards so the boundaries draw over the image rather than under it.
A locked overlay shows no corner handles at all. Select one later and see nothing, and the reason is the lock, not a bug: choose Unlock Image first. Move to Location and Rotate Image grey out while it is locked too. Hiding, renaming, opacity and delete keep working either way.
The layer card carries a lock marker, and clicking it unlocks the image. Expand the card and it shows the image itself, which is the fastest way to tell two scans apart in a project carrying several. Reordering regenerates the project drawing, so the stacking you leave is the stacking your exports carry.
Image Overlays need Professional or above. On Free, Add Image Overlay opens the plan chooser in place of the upload dialog. The rest of what this guide touches, the project anchor, Manage Layers and layer ordering, is open on every plan.
Where to go next
- Image overlays, the canonical procedure, with the full seven item overlay menu
- The map workspace, for the project menu, the panes and the map toolbar
- Manage layers, for the overlay’s card and what expanding it shows
- Layer groups and ordering, for the drag that sets the draw order
- Right-click menus on the map, for the overlay menu beside the plot and map menus
- Locate a legal description and Default project settings, for setting the anchor and what new projects start with
- PLSS grid overlays, when the reference you want under the plot is the section grid rather than a scan