

Availability: Professional, Expert, and Enterprise
Labels tag projects by client, county, or job type so you can filter a long library down to one slice of work. Trace has two kinds. A personal label is yours alone. A Category is the team standard, shared by everyone. The marketing site calls categories what the app calls organization-wide labels; they are the same thing.
Before you start
- Creating and applying labels needs Professional or above.
- Creating a Category needs Expert or above, and the owner or admin role.
Create a label
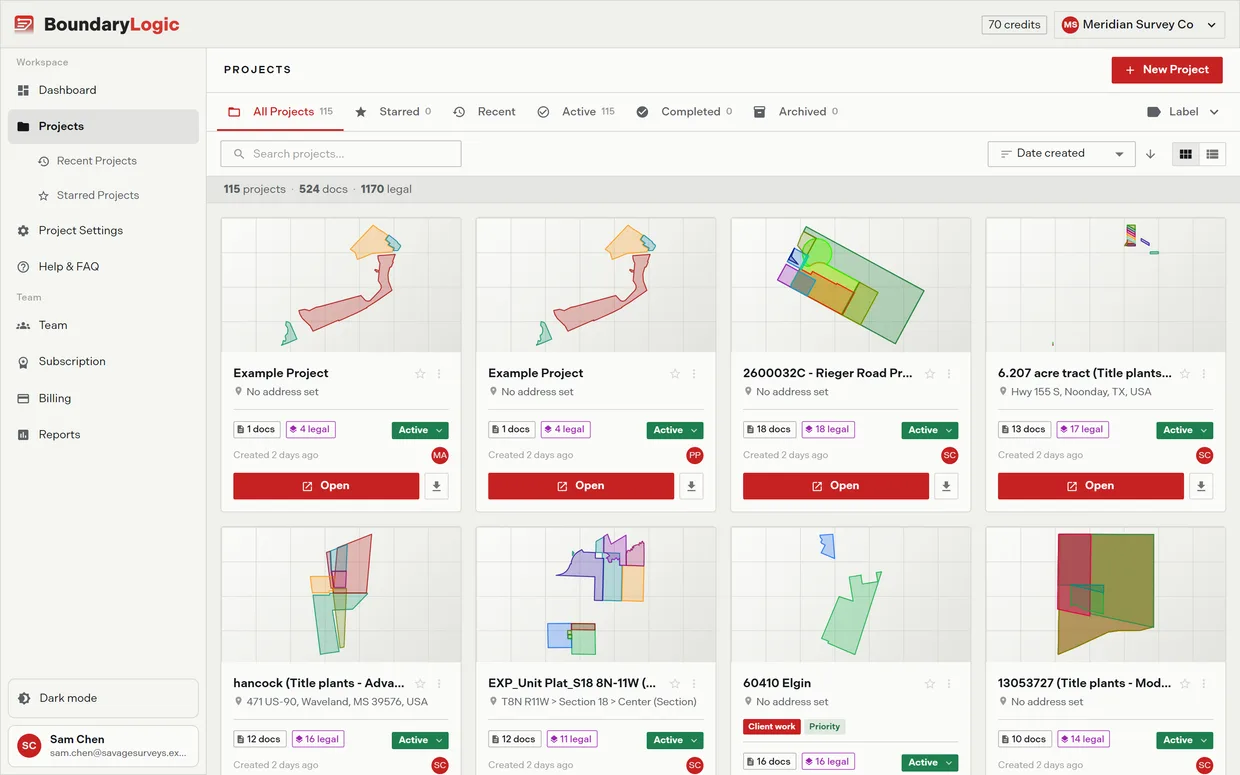
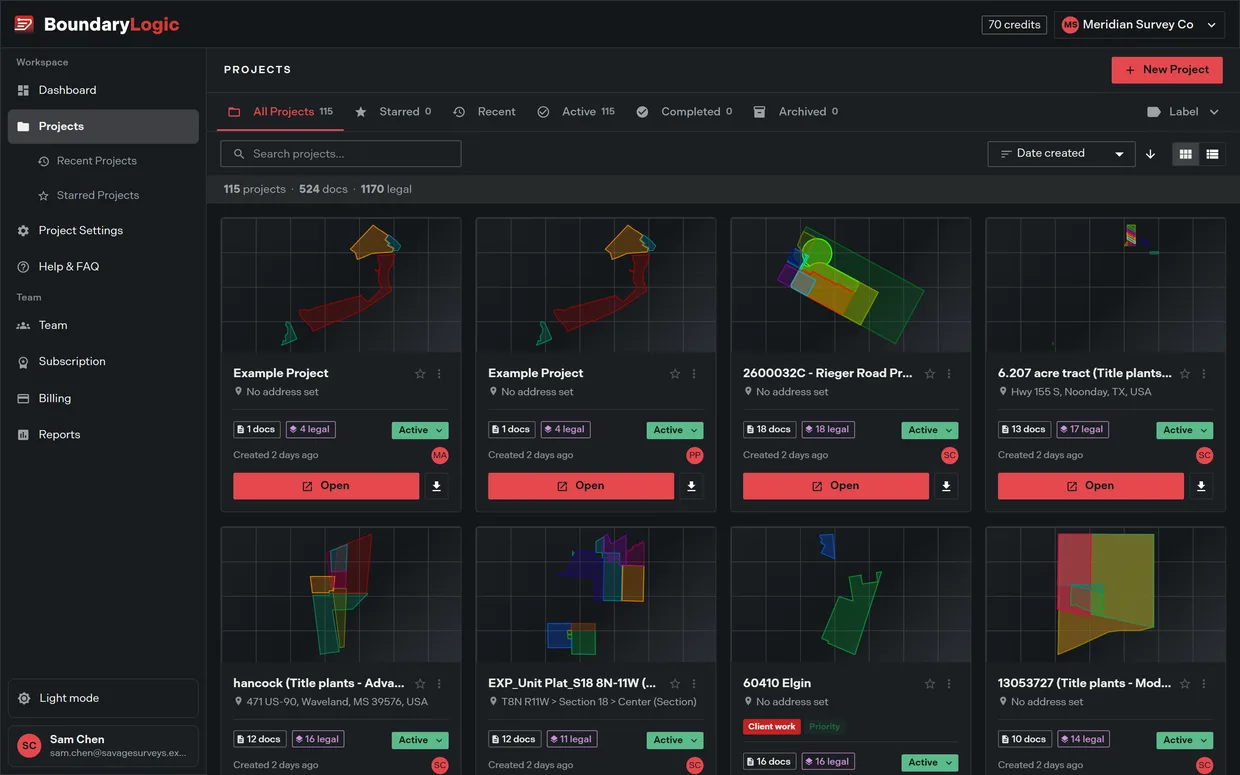
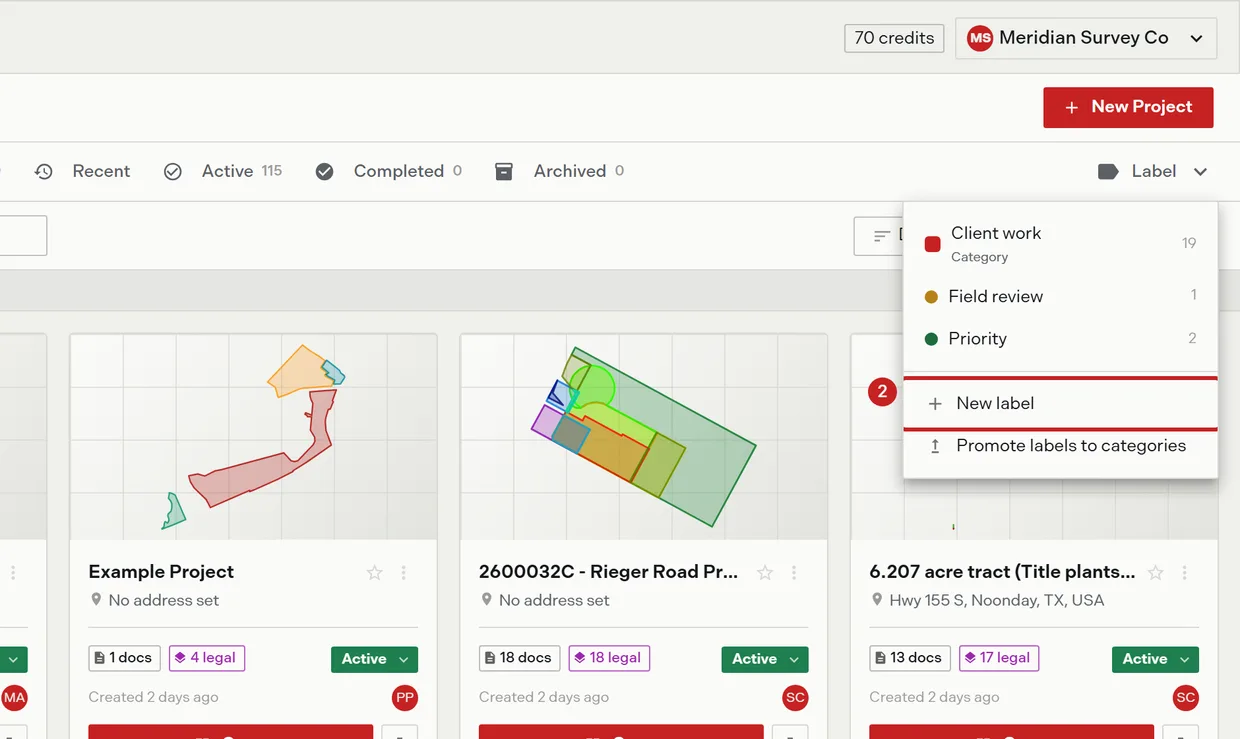
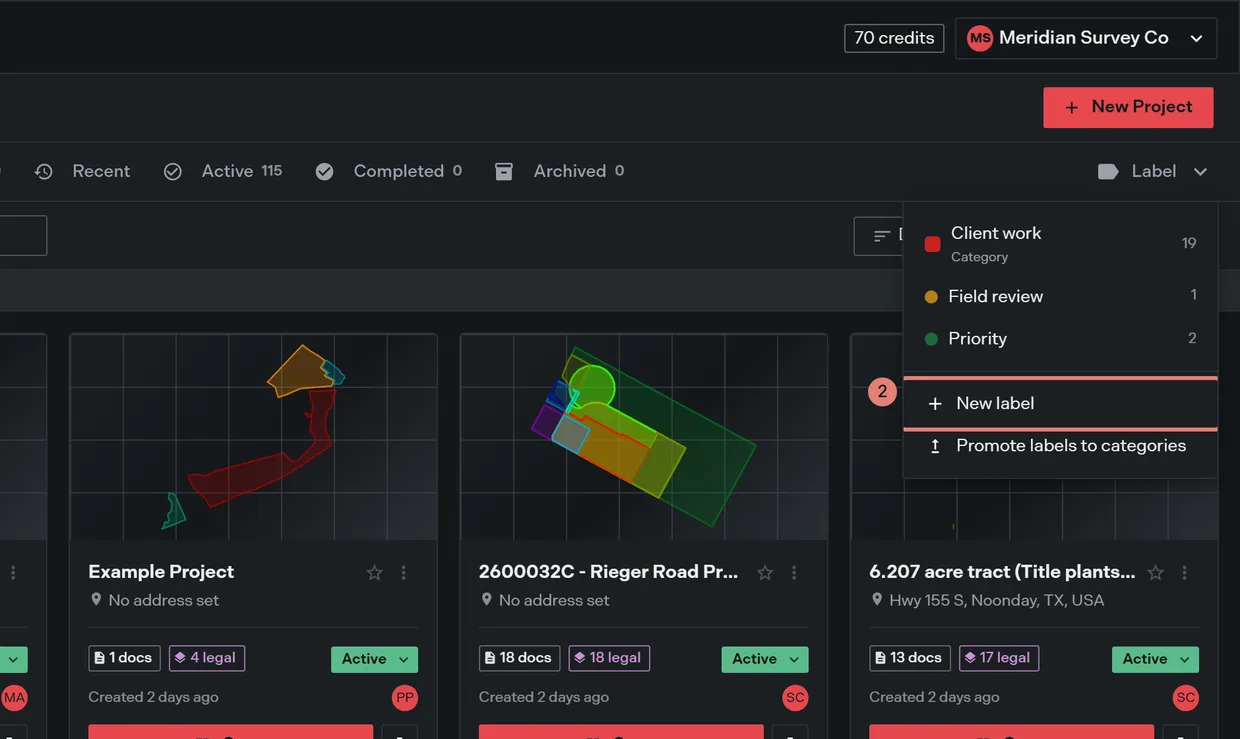
- On the projects list, click Label right of the scope tabs.
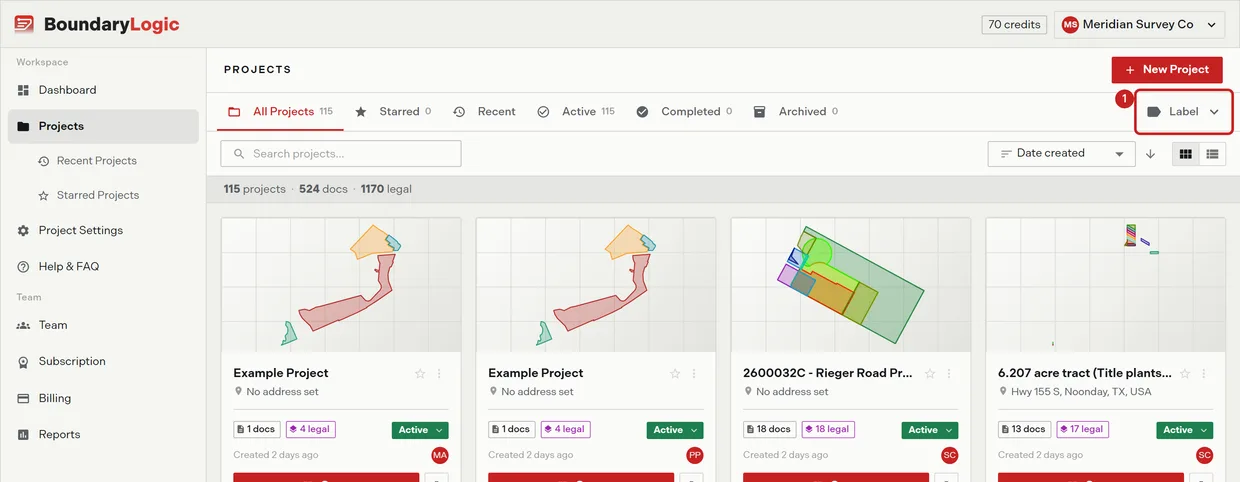
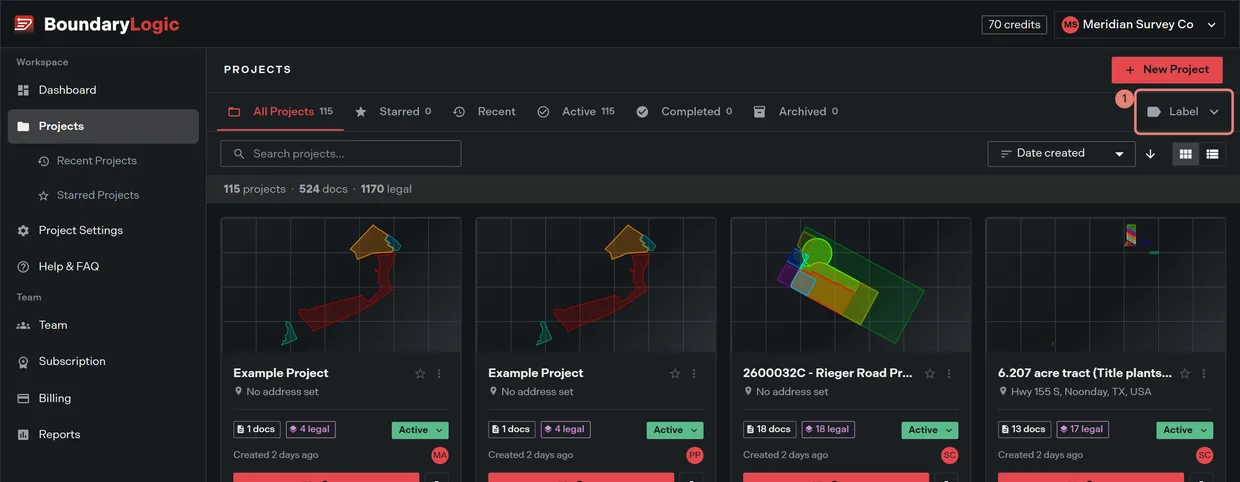
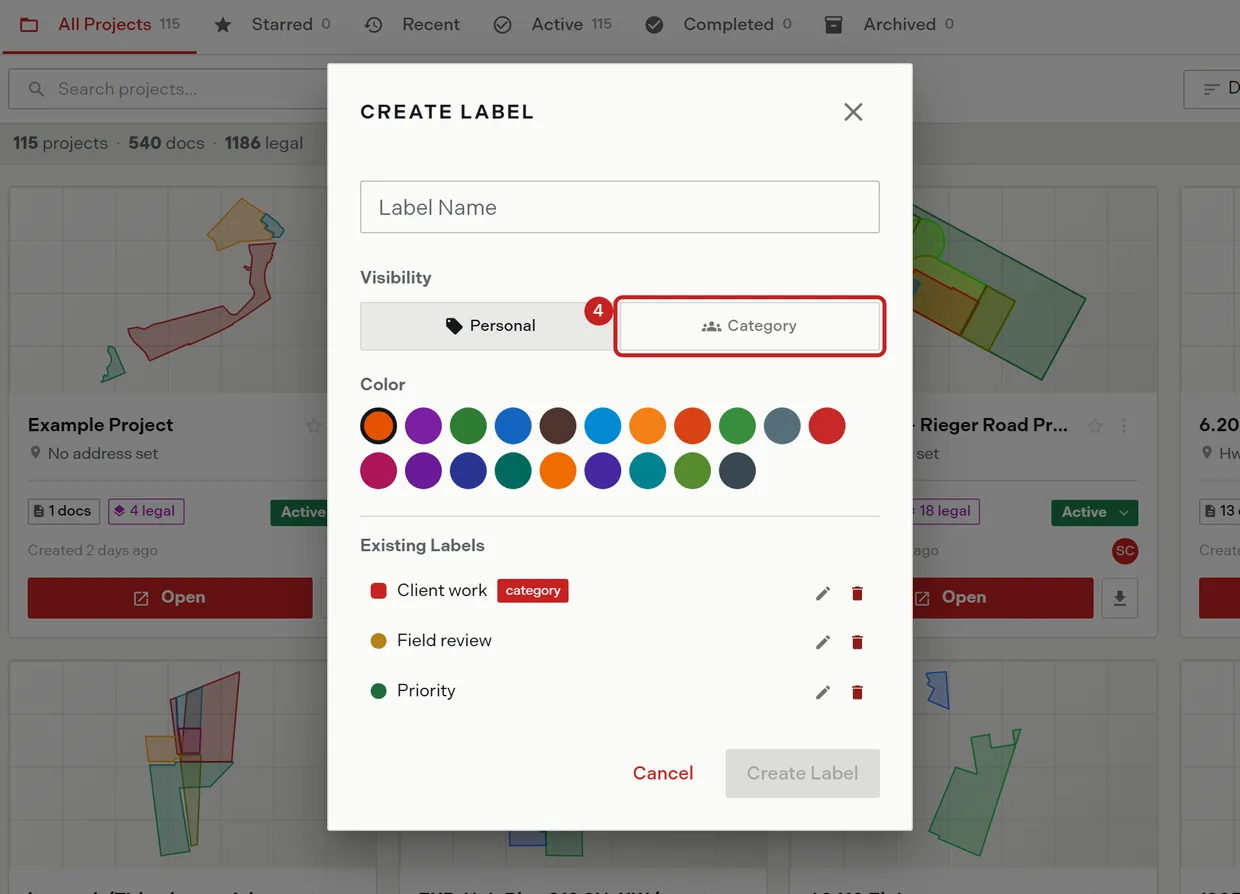
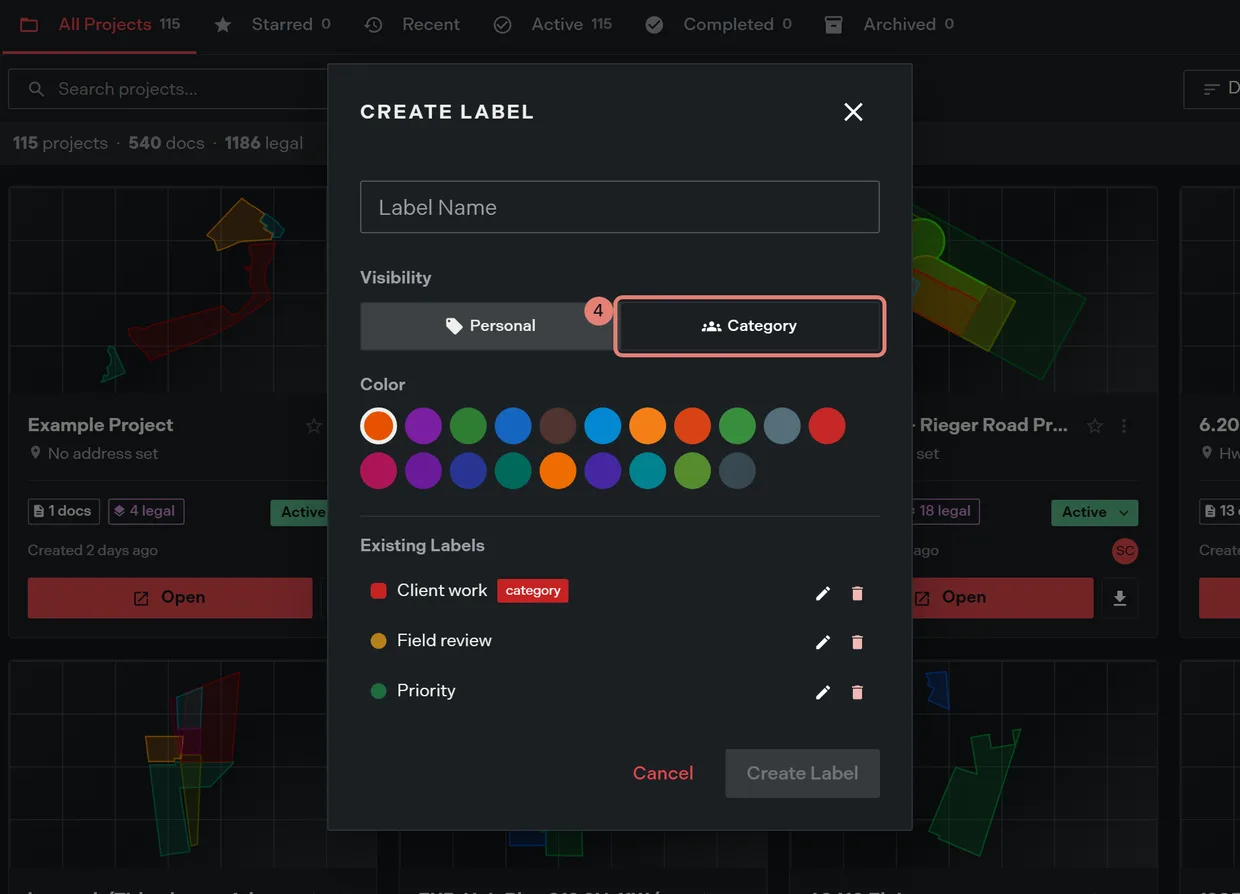
- Click New label. The CREATE LABEL dialog opens.
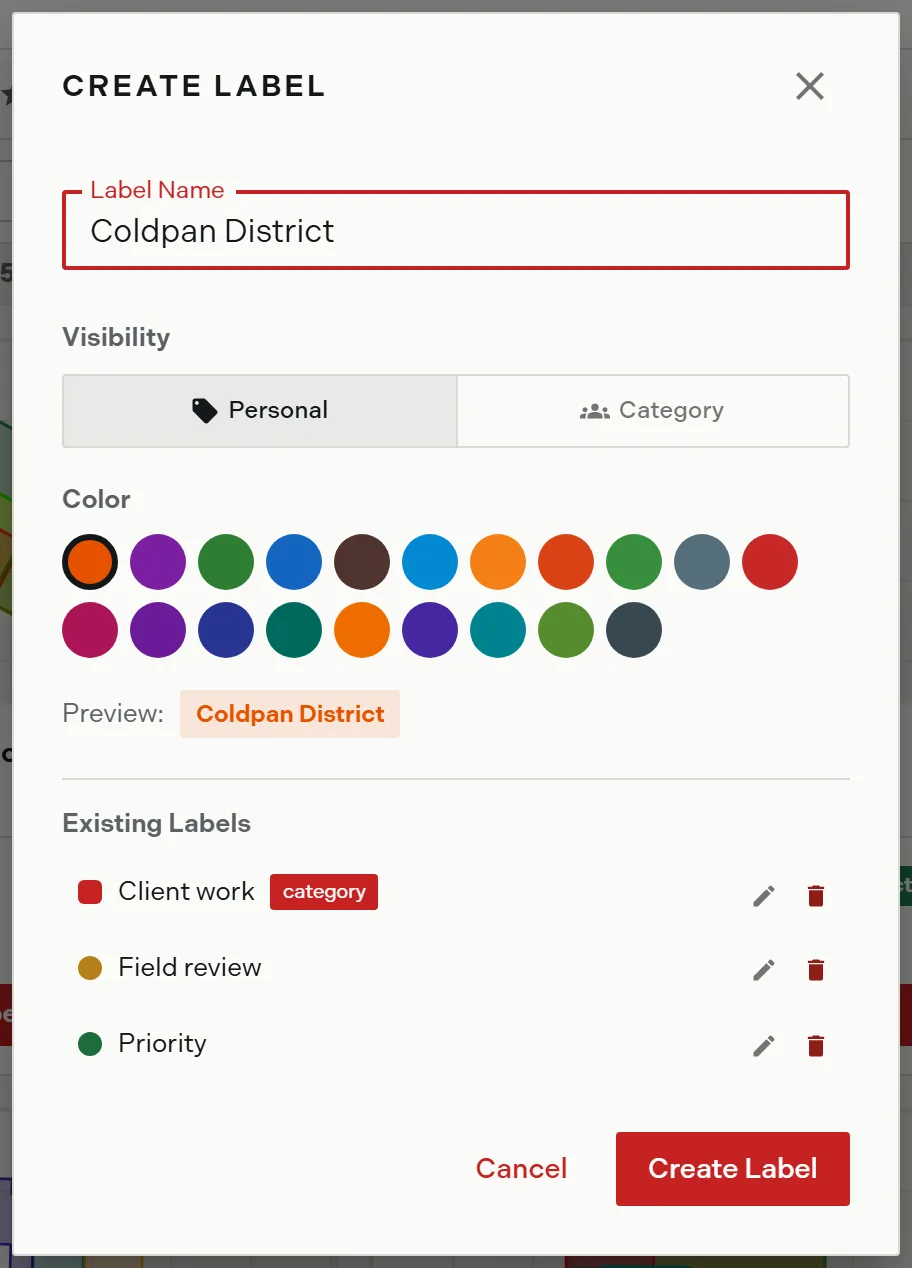
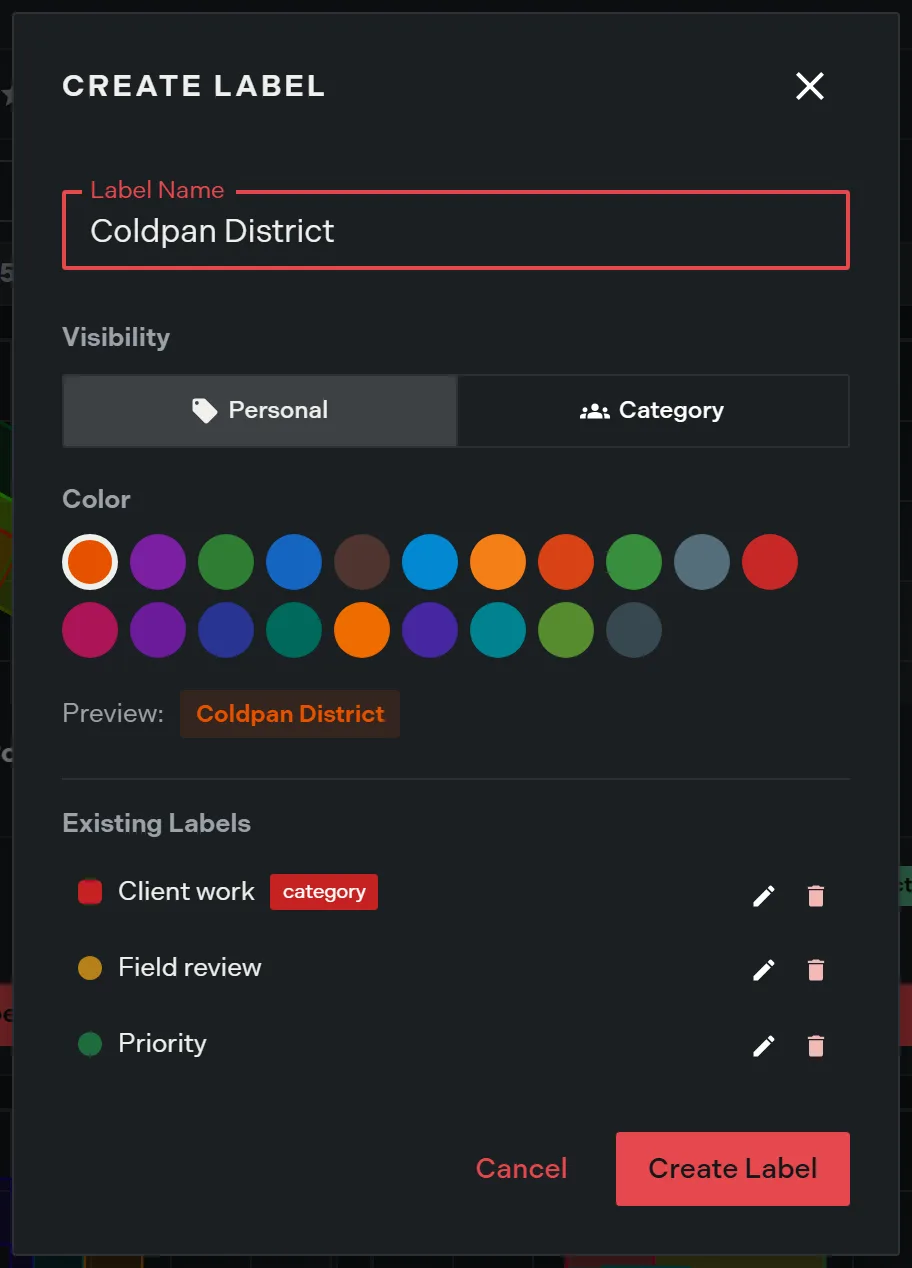
- Enter a Label Name and pick one of the 20 Color swatches. The Preview badge shows the result as you choose.
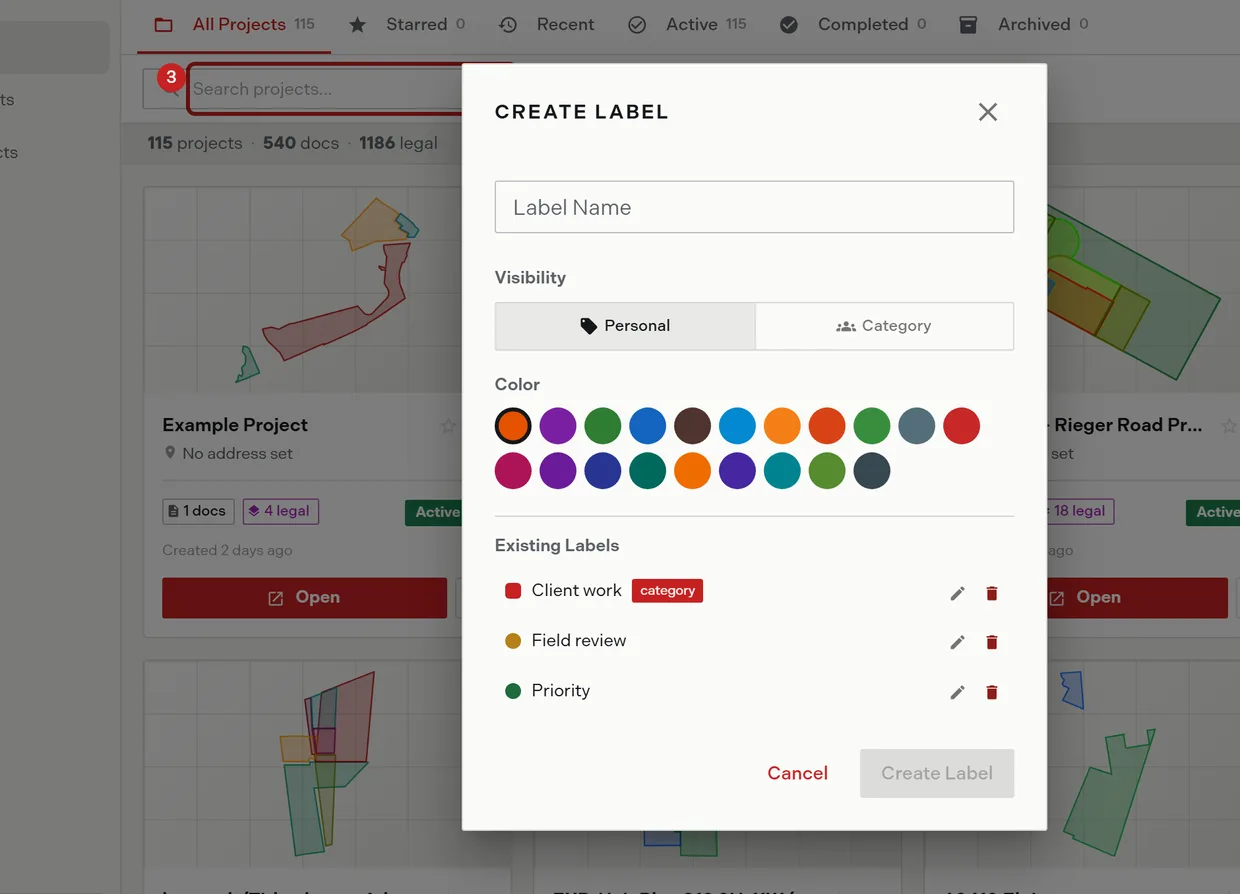
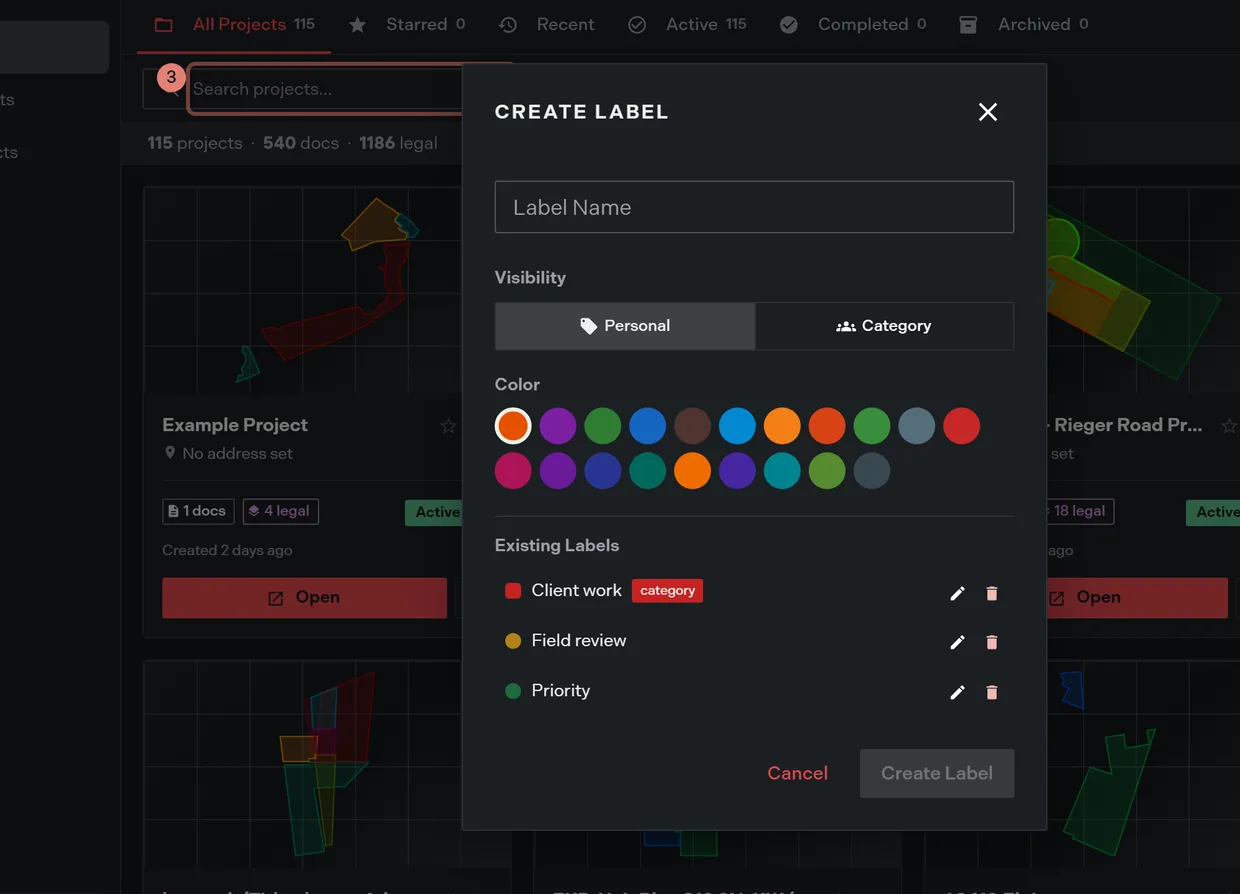
- Optional: set Visibility to Personal or Category. Owners and admins see this toggle; members do not.
- Click Create Label. A Label created message confirms it.
Apply a label to a project
- On a project card, click the More options button.
- Point at Labels, or press ArrowRight, to open the apply labels flyout. Every label appears with its color marker, and applied labels carry a check mark.
- Click a label to add it, or click a checked label to remove it. The badge appears on the card straight away.
- Optional: click + New to create a label without leaving the project, or Manage labels to open the full dialog.
Categories fill solid in their label color wherever a project appears. Personal labels tint the same color lightly, which is how you tell them apart at a glance.
Filter the list by label
- Click Label right of the scope tabs. The menu shows every label you can see with a per-label project count, or No labels yet when there are none.
- Click a label row. The list filters to non-archived projects carrying it, the scope tabs deselect, and the button renames itself to the label.
- Click the same row again to clear the filter, or click the X on the Label: name badge in the totals bar.
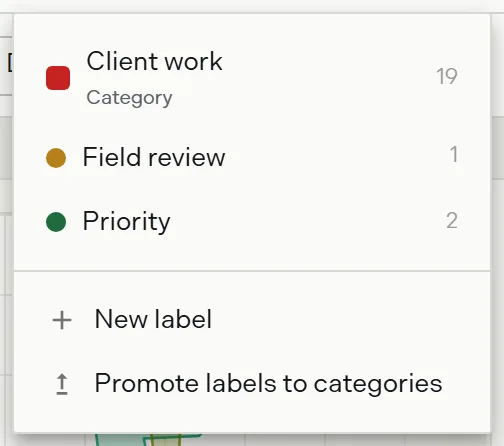
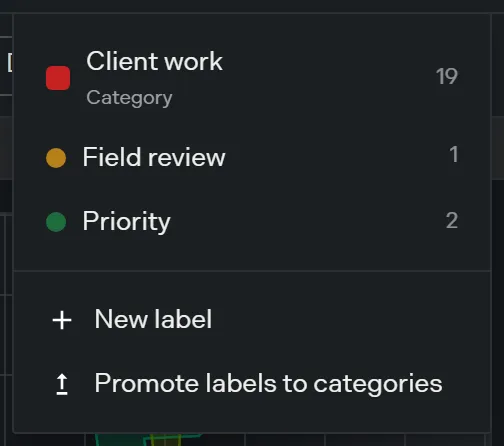
Personal labels carry a round dot in this menu. Categories carry a rounded square and a Category subtitle.
Edit or delete a label
Both live in the same dialog, under Existing Labels. Every label there carries a pencil and a trash icon, and a category row is marked with a category badge.
- Open the Label menu, then click New label or Manage labels to reach the dialog.
- Under Existing Labels, click the pencil icon on a label to rename it or change its color. Every project carrying it updates.
- Click the trash icon to delete it.
Category rows are enabled for owners and admins only. Where your plan does not cover a label, its controls are disabled and the tooltip names the plan that restores them.
Promote personal labels to categories
When your own tagging system has settled and you want the team on it, promotion converts personal labels into categories in one pass.
- Open the Label menu. Promote labels to categories appears for owners and admins on Expert or above, and only while you still have personal labels.
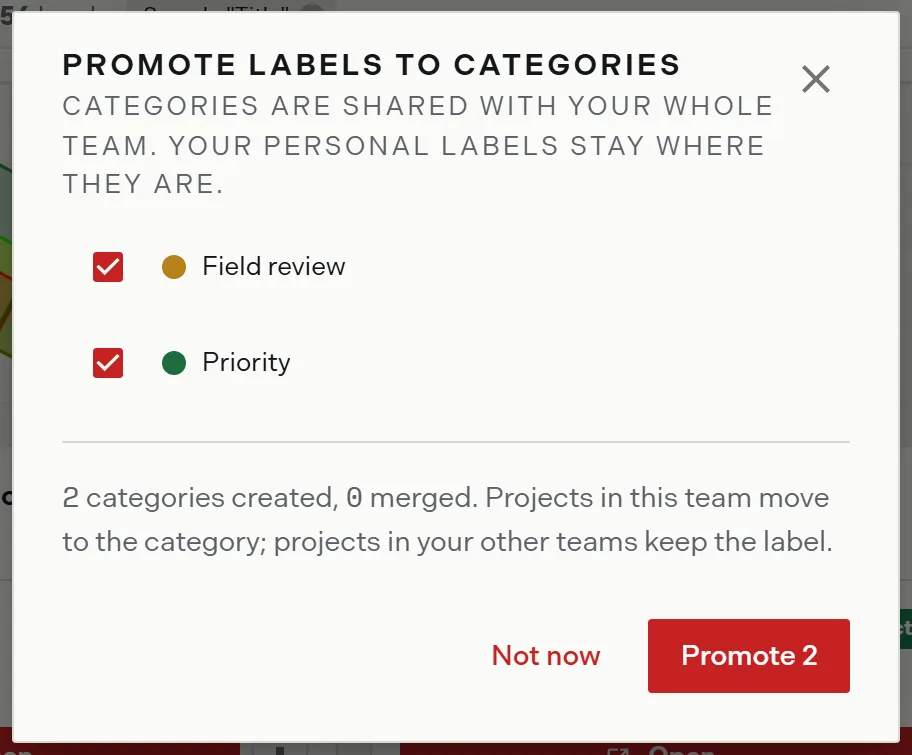
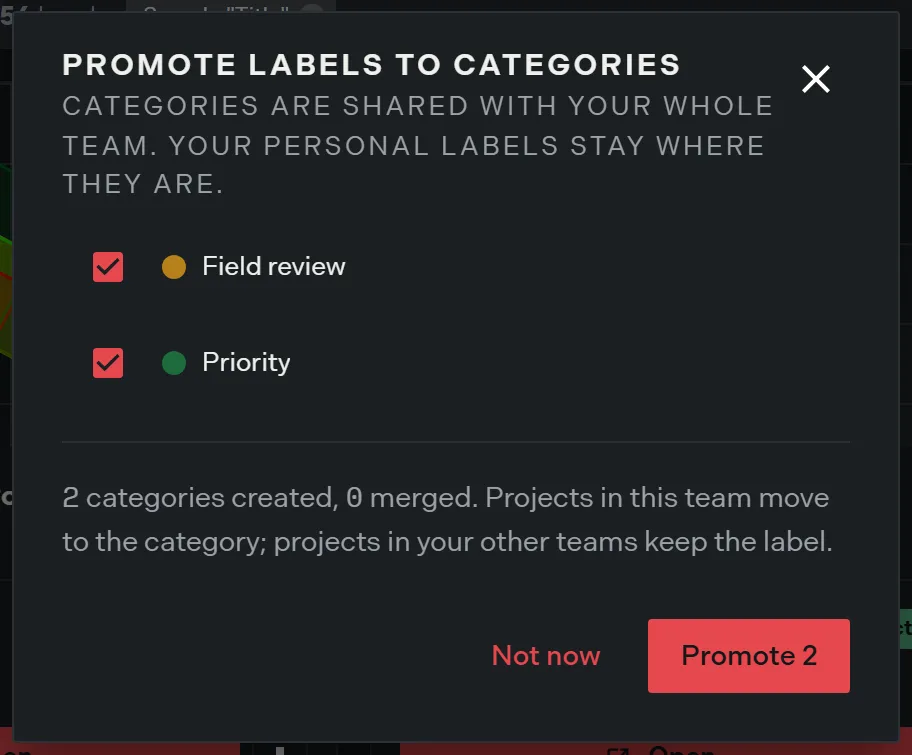
- Click it. The dialog preselects every personal label and states that categories are shared with the whole team while your personal labels stay where they are.
- Read the line under the list. It predicts what promoting will do before you go ahead: how many categories get created, and how many merge into a category of the same name. On a merge, the team color wins.
- Check what moves. Projects in this team move to the category; projects in your other teams keep the label.
- Click Promote. The button names the number it is about to promote.
Optional: click Not now to close the dialog without promoting anything.
Categories and promotion need Expert or Enterprise, and the owner or admin role. On Professional the visibility toggle offers Personal only.
What happens after a downgrade
Labels survive a plan change. They stay visible on projects and they keep filtering the list, but creating, editing, and applying stop. Frozen controls carry a read-only tooltip naming the plan that unfreezes them, and everything resumes when the plan is restored.
Downgrades and freezes covers what else changes.
On the Free plan
The Label button and the labels field in the create wizard stay visible and disabled. Pointing at Labels in a project menu does nothing, and clicking it opens the plan chooser. The create wizard’s labels field carries the tooltip “Available on Professional. Upgrade to label and organize your projects.”
Related
- Find and filter projects, for the tabs and search that labels narrow further
- The projects dashboard, for where label badges appear
- Create a project, for applying labels as you create
- Downgrades and freezes, for frozen labels
- Invite people and set roles, for who can manage categories