

Availability: All plans. Role: edit access on the project.
Every tract in a document starts with a header naming it, and most start from a declared point. The BoundaryLogic Trace New tract quick command writes the header, the type declaration and the start point in one step, so the calls have somewhere to begin.
Before you start
- Decide whether the record begins at the point of beginning or walks in from a point of commencement.
- Have the coordinates or the monument description for that point, if the record gives one.
Steps
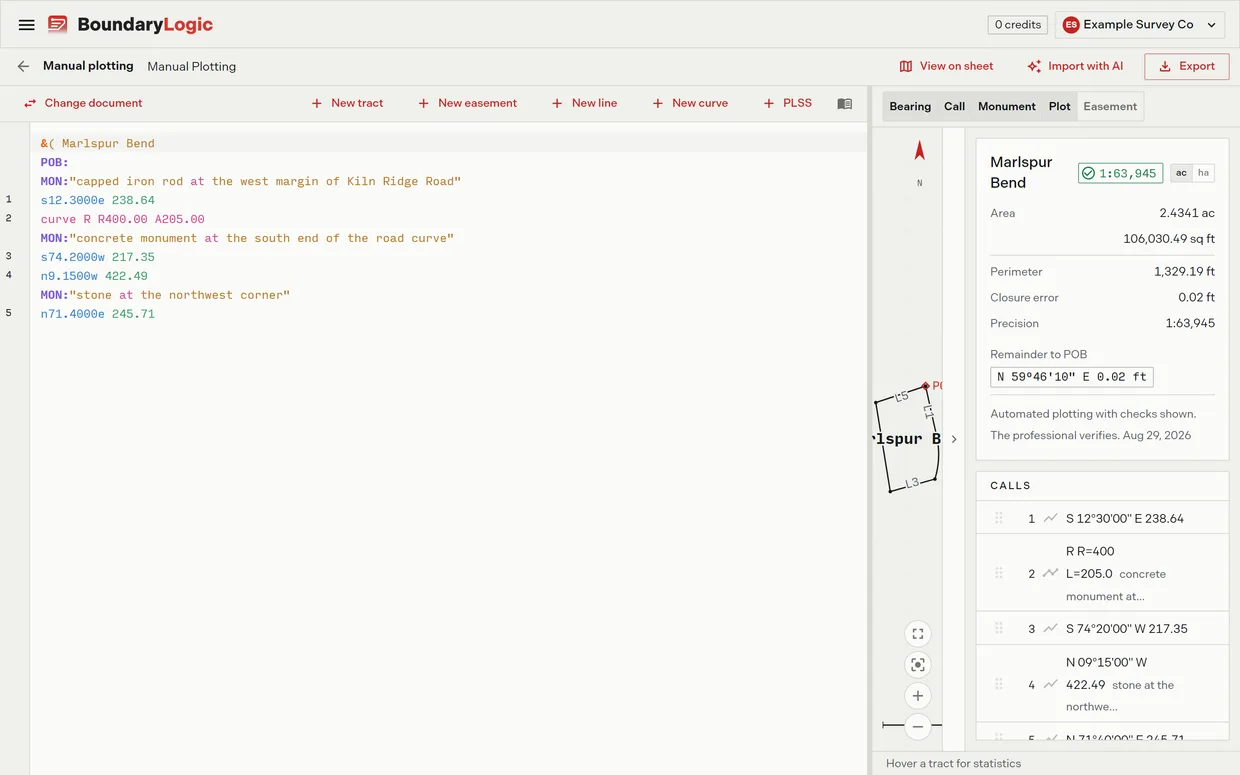
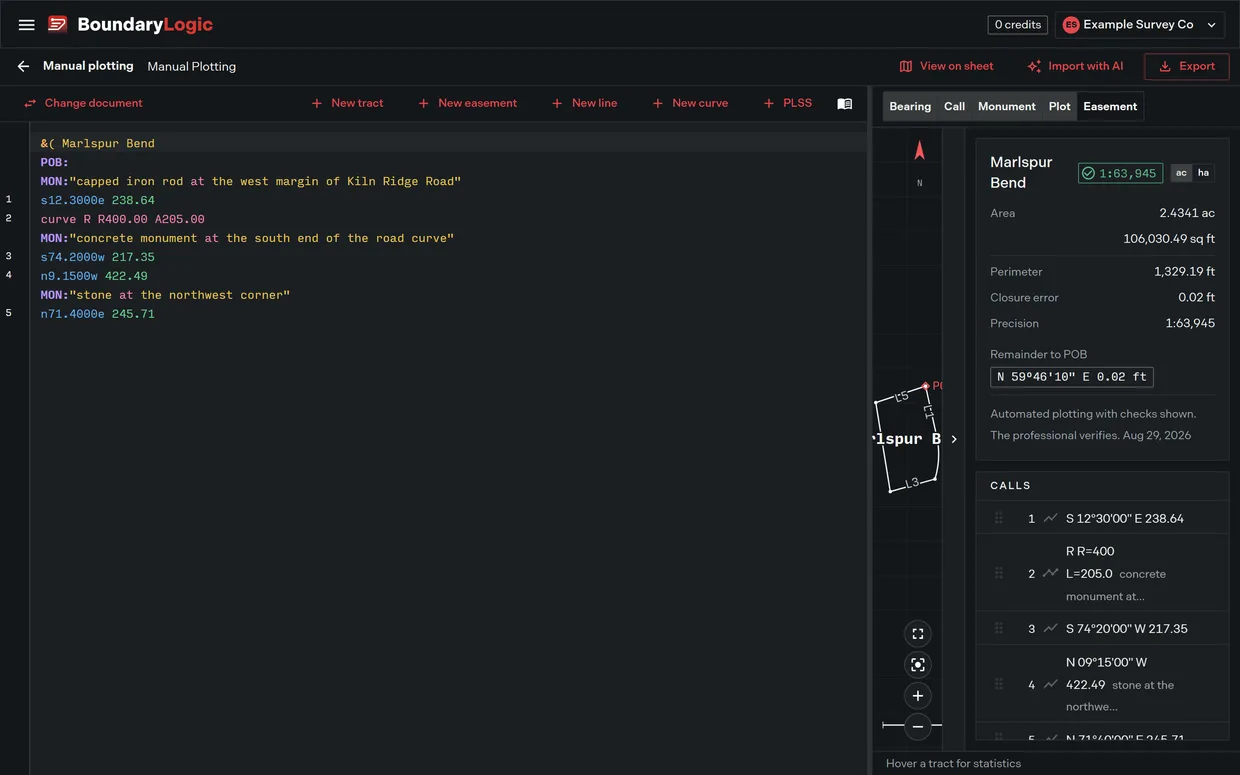
- On the editor toolbar, click New tract. The form opens for a standard tract.
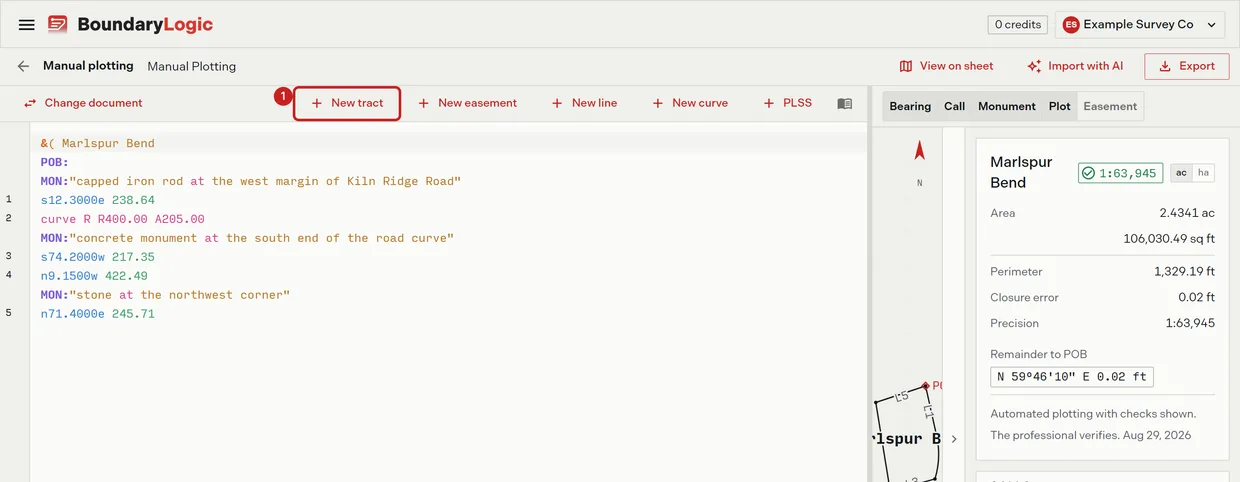
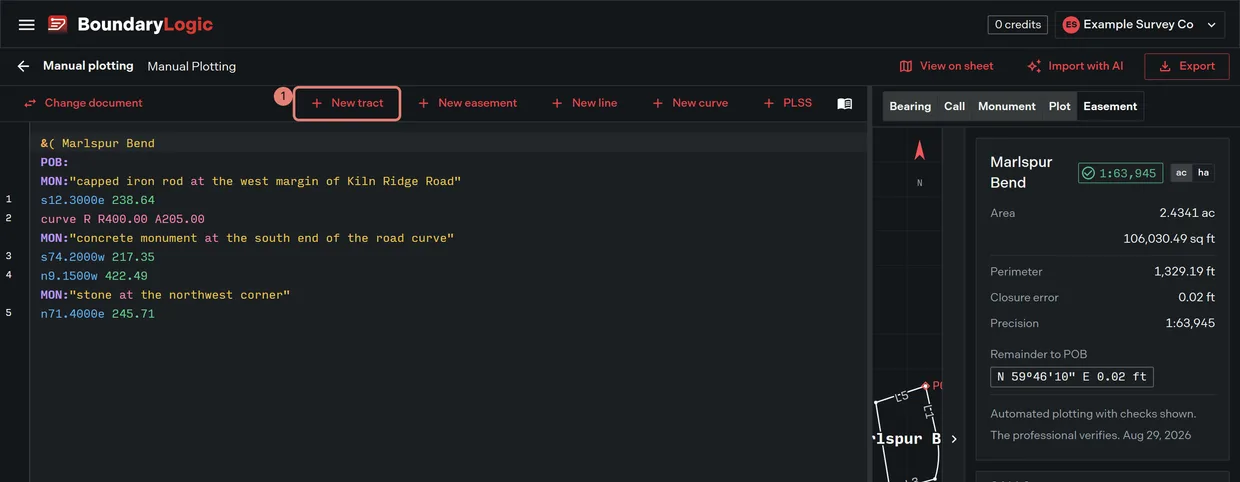
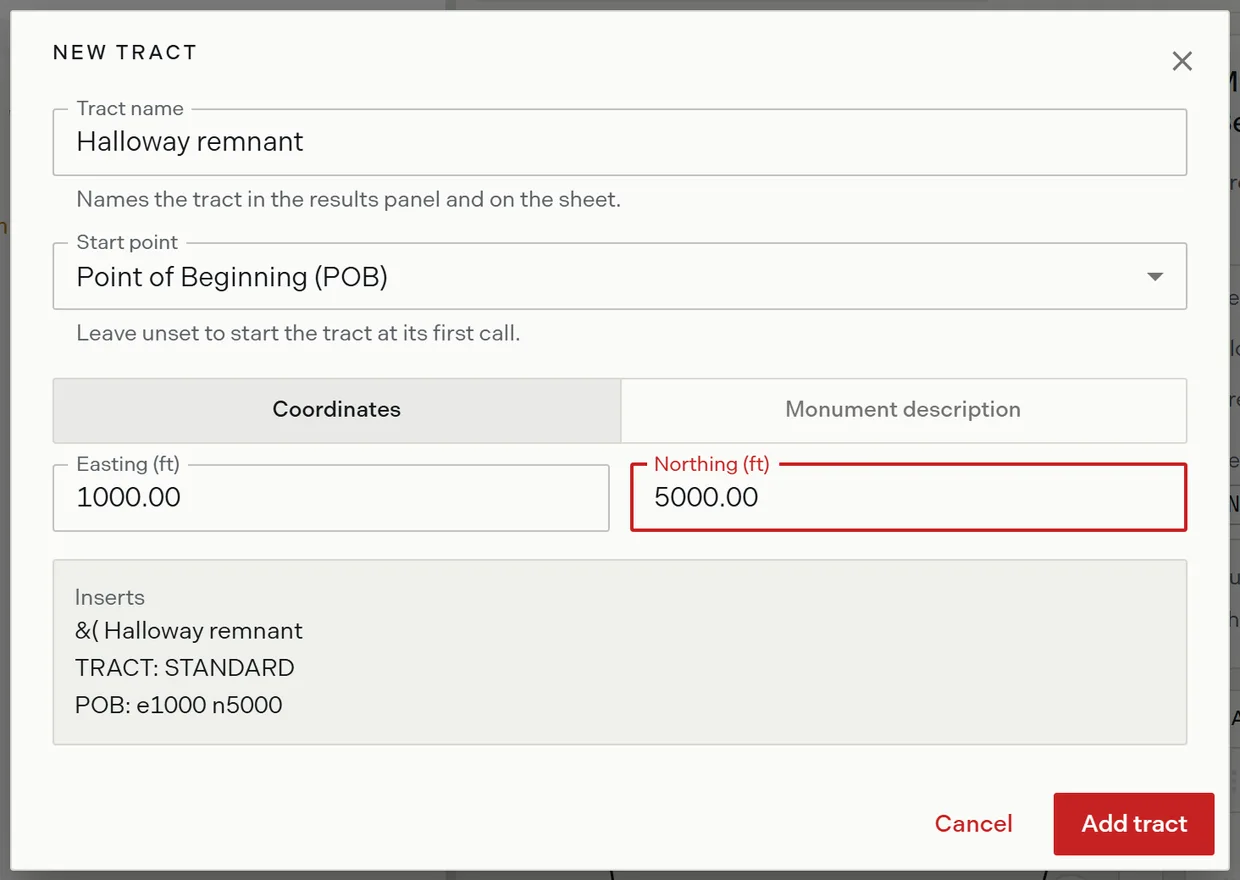
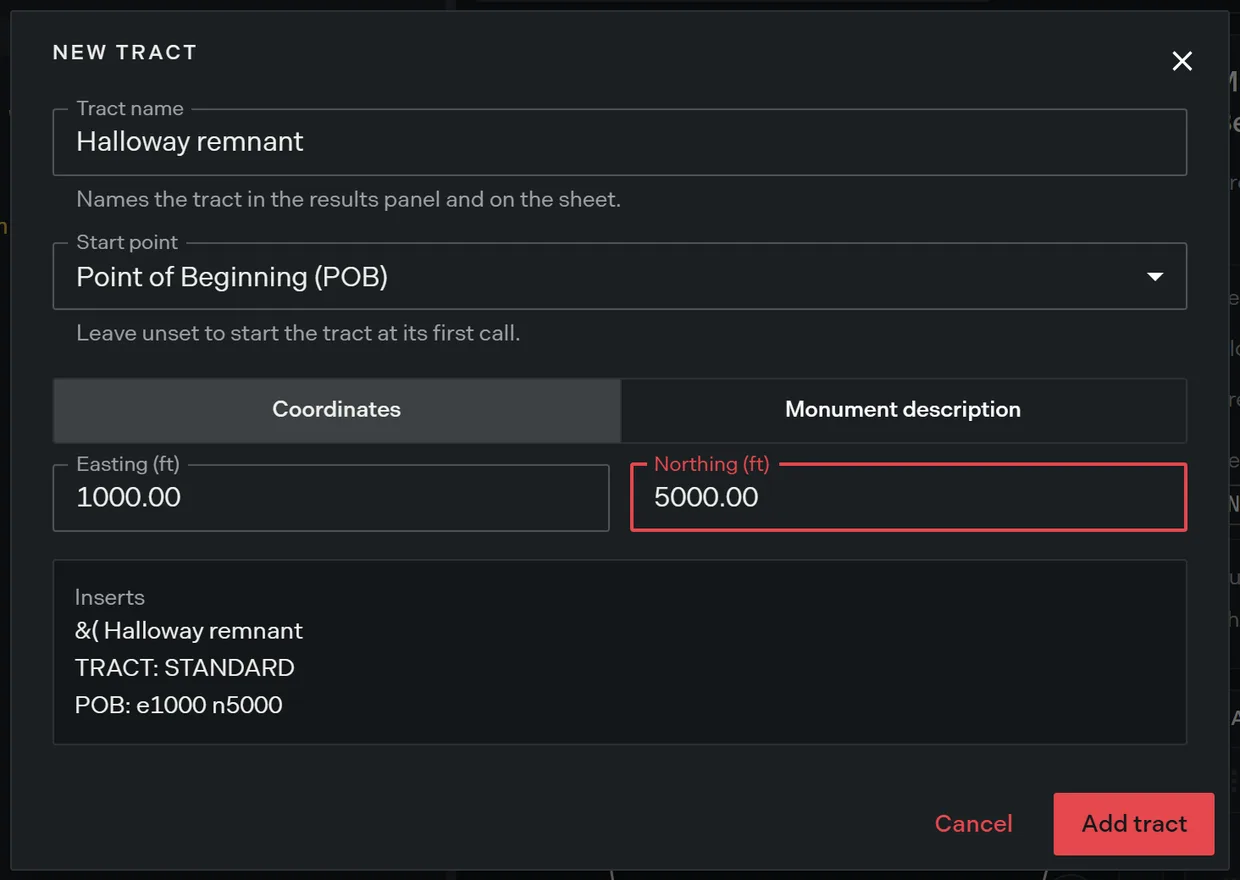
- Enter the tract name. This is the name shown in the results panel, on the plot sheet and in the project’s layers. The box is prefilled with the placeholder Parcel 2.
- Choose the start point: Not set, Point of Beginning (POB) or Point of Commencement (POC). Not set leaves the tract to start at its first call.
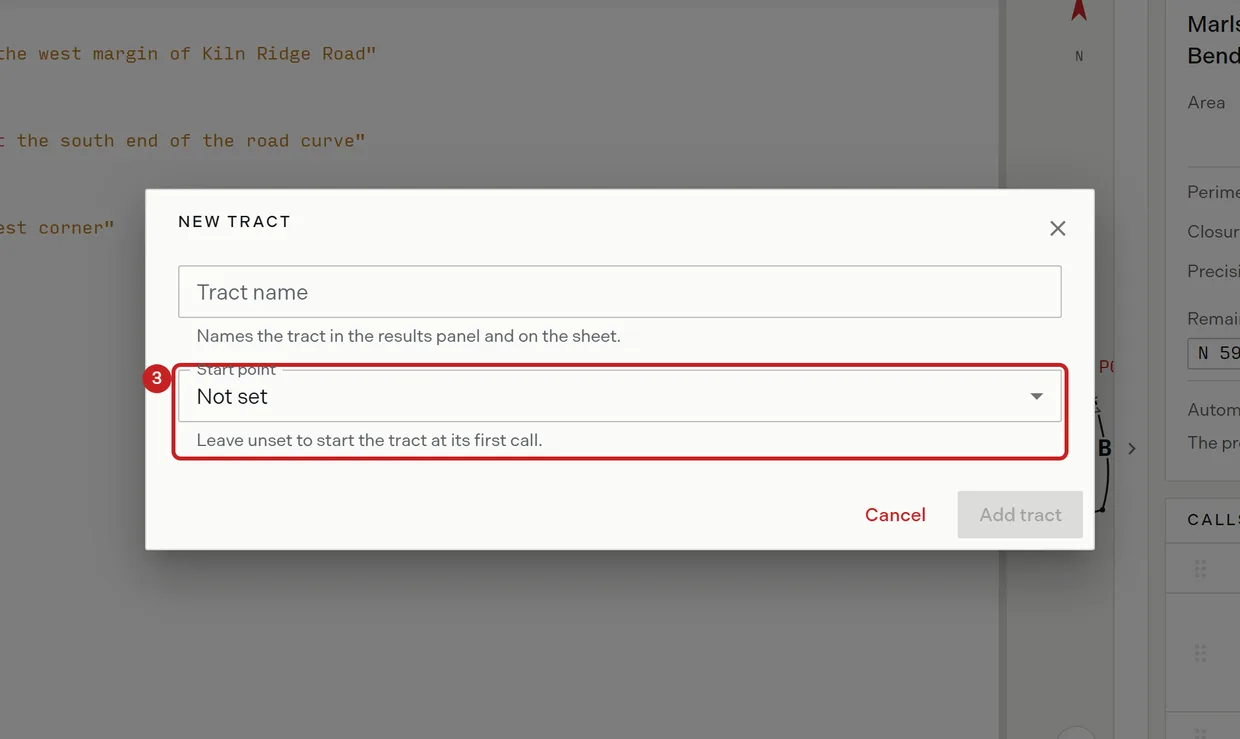
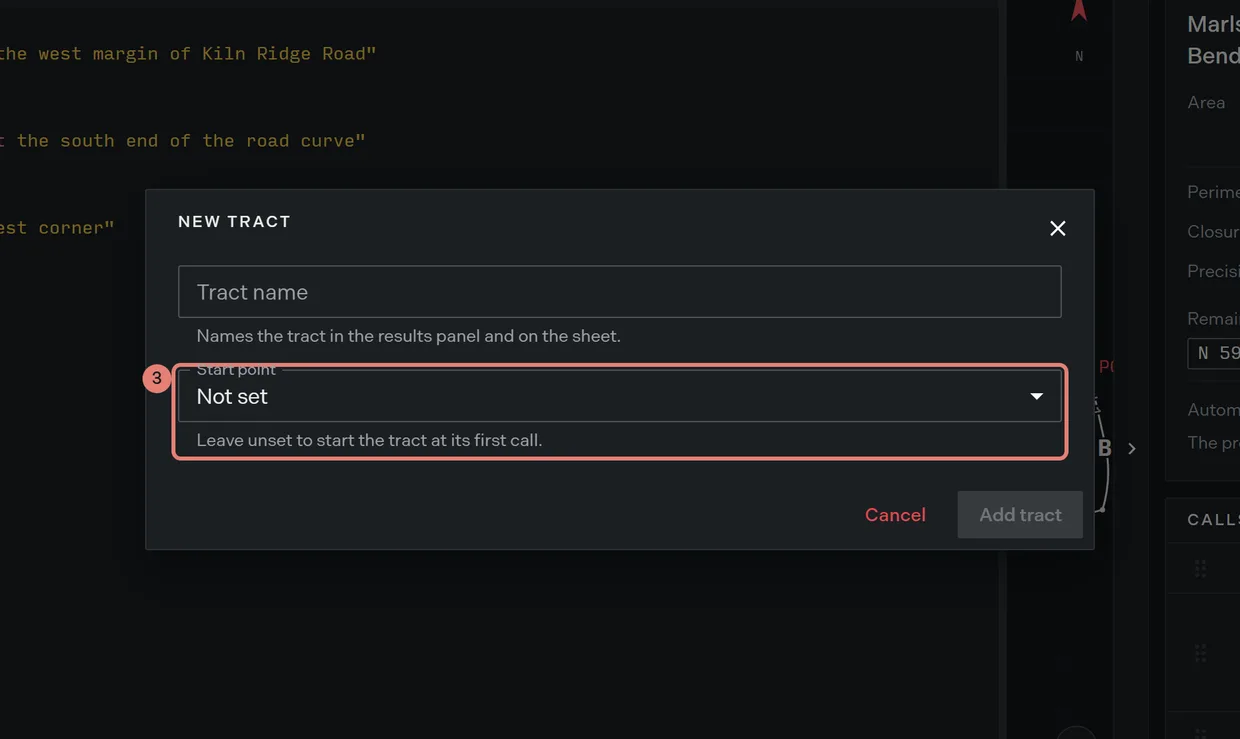
- Anchor the point, if you chose one. Enter the easting and northing in feet, or enter a monument description instead. A box holding anything but a number turns red and blocks the insert.
- Read the preview, which shows the exact lines to be inserted and updates as the fields change.
- Click Add tract. The block lands at the end of the document and the cursor follows it, ready for the first call. The button stays disabled until the tract is named and any chosen point is complete.
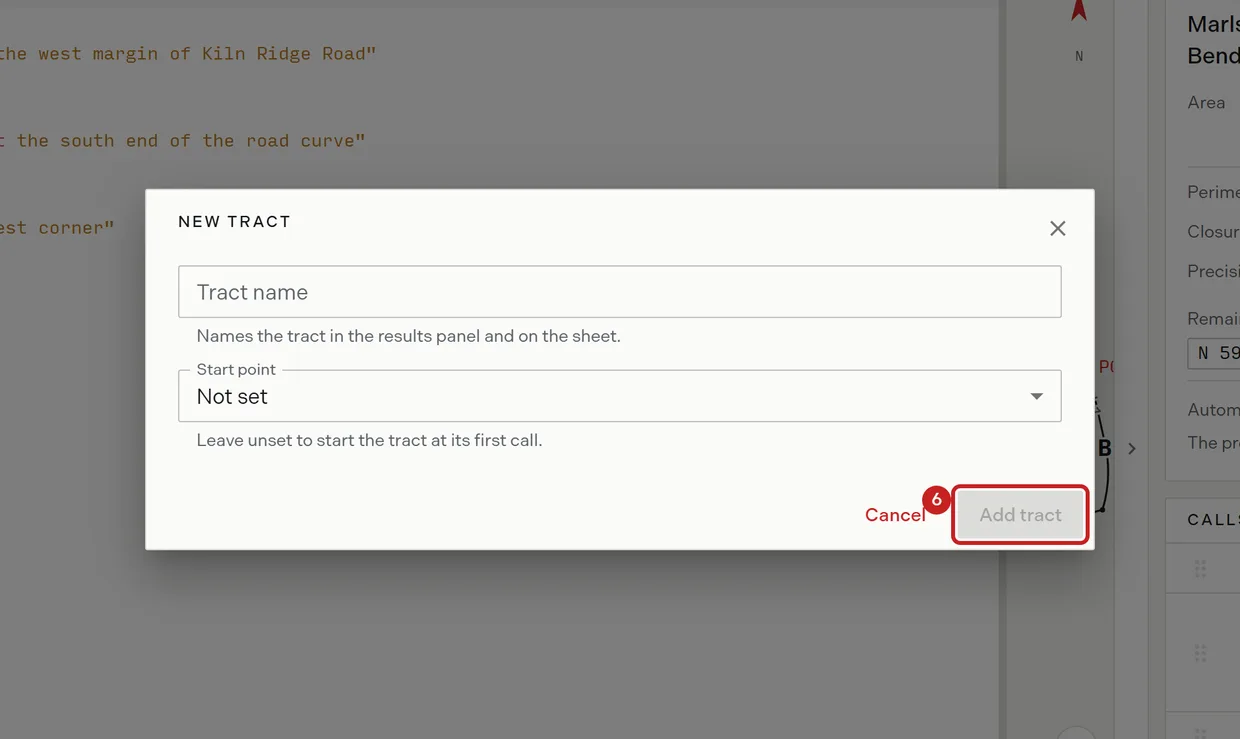
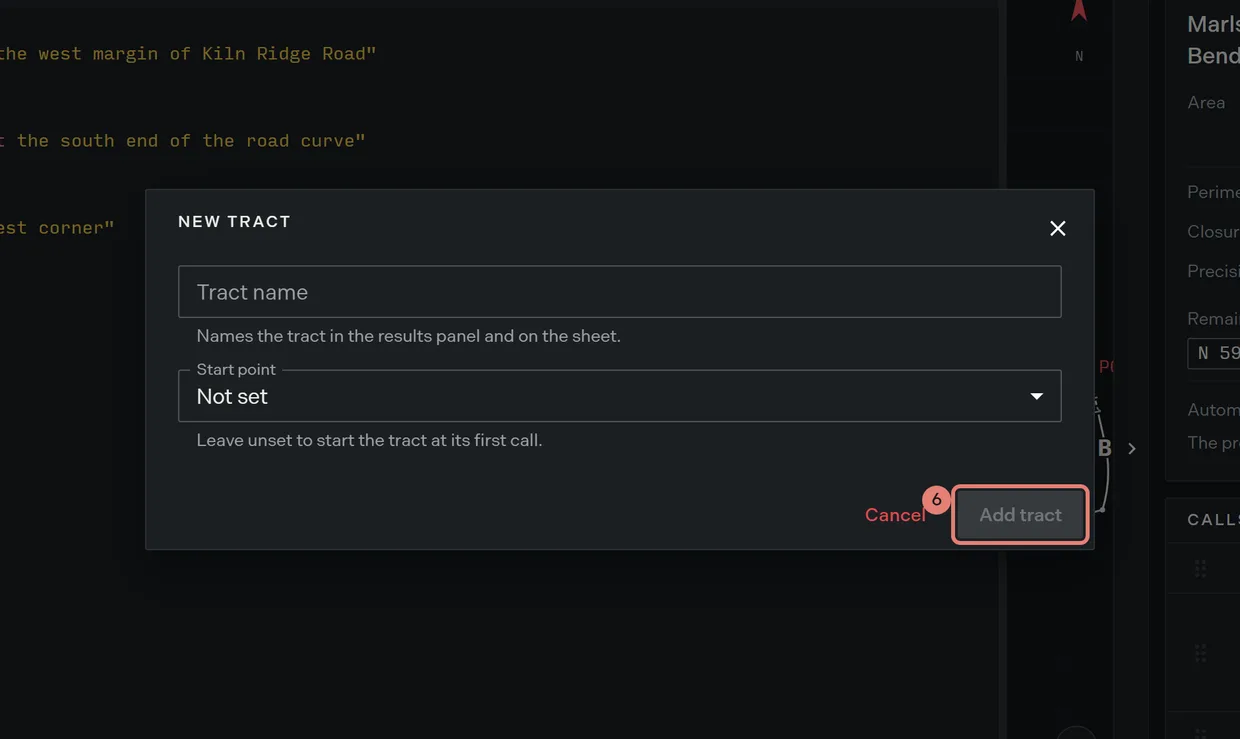
- Type the calls below the block. The tract draws as they appear.
Choosing between a point of beginning and a point of commencement
A point of beginning is the first corner of the boundary itself. A point of commencement is a known position the record starts from, usually a section corner, from which it walks to the true point of beginning before describing anything. If your description reads “commencing at” and then “thence to the true point of beginning”, it has both.
Choose Point of Commencement (POC) for that case. Write the tie calls with a leading slash so they number C1 upward, draw dashed and stay out of the closure and the area, then write a bare POB: where the boundary starts. The point of beginning then falls out of where the ties end. Deed syntax reference carries the tie and declaration forms.
Anchoring by coordinates or by monument
The two anchors do different jobs, and a tract can have both.
| Anchor | What it writes | When to use it |
|---|---|---|
| Coordinates | POB: e1000 n1000 in local plot feet |
You want the tract to sit at a known position on the sheet |
| Monument description | A bare declaration with the description on its own MON: line below it |
The record names what was found there but gives no coordinates |
A monument description labels the point and travels with exports without moving the geometry, so a monument anchor leaves the position to be decided by the calls or by dragging the tract on the plot sheet. Coordinates are local plot feet, not ground coordinates: where the tract sits in the world comes from the project anchor.
Adding another tract to the same document
Run New tract again, or write a new &( header and its calls by hand. Either way the new tract becomes its own legal description on the project the first time Trace reads it cleanly and it has calls. Once a document holds more than one drawable tract, the tract card gains a selector listing them all by name.
To rename a tract later, edit the text of its &( header. The legal description is renamed across the project. To remove one, delete its whole block; that is the delete gesture, and it takes effect immediately without a confirmation.
Related
- Deed syntax reference, for headers, declarations, ties and point forms
- Lines curves and calls, for the calls that follow the header
- Easements and centerlines, for a corridor rather than a closed boundary
- The manual plotting workspace, for dragging a tract into position on the sheet